
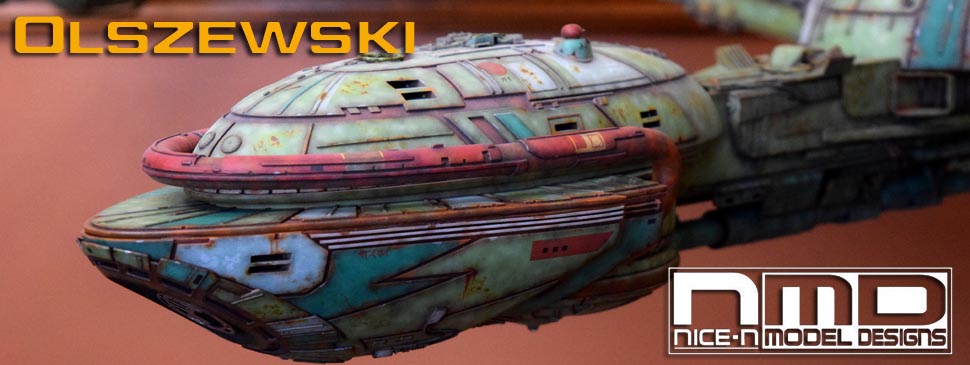
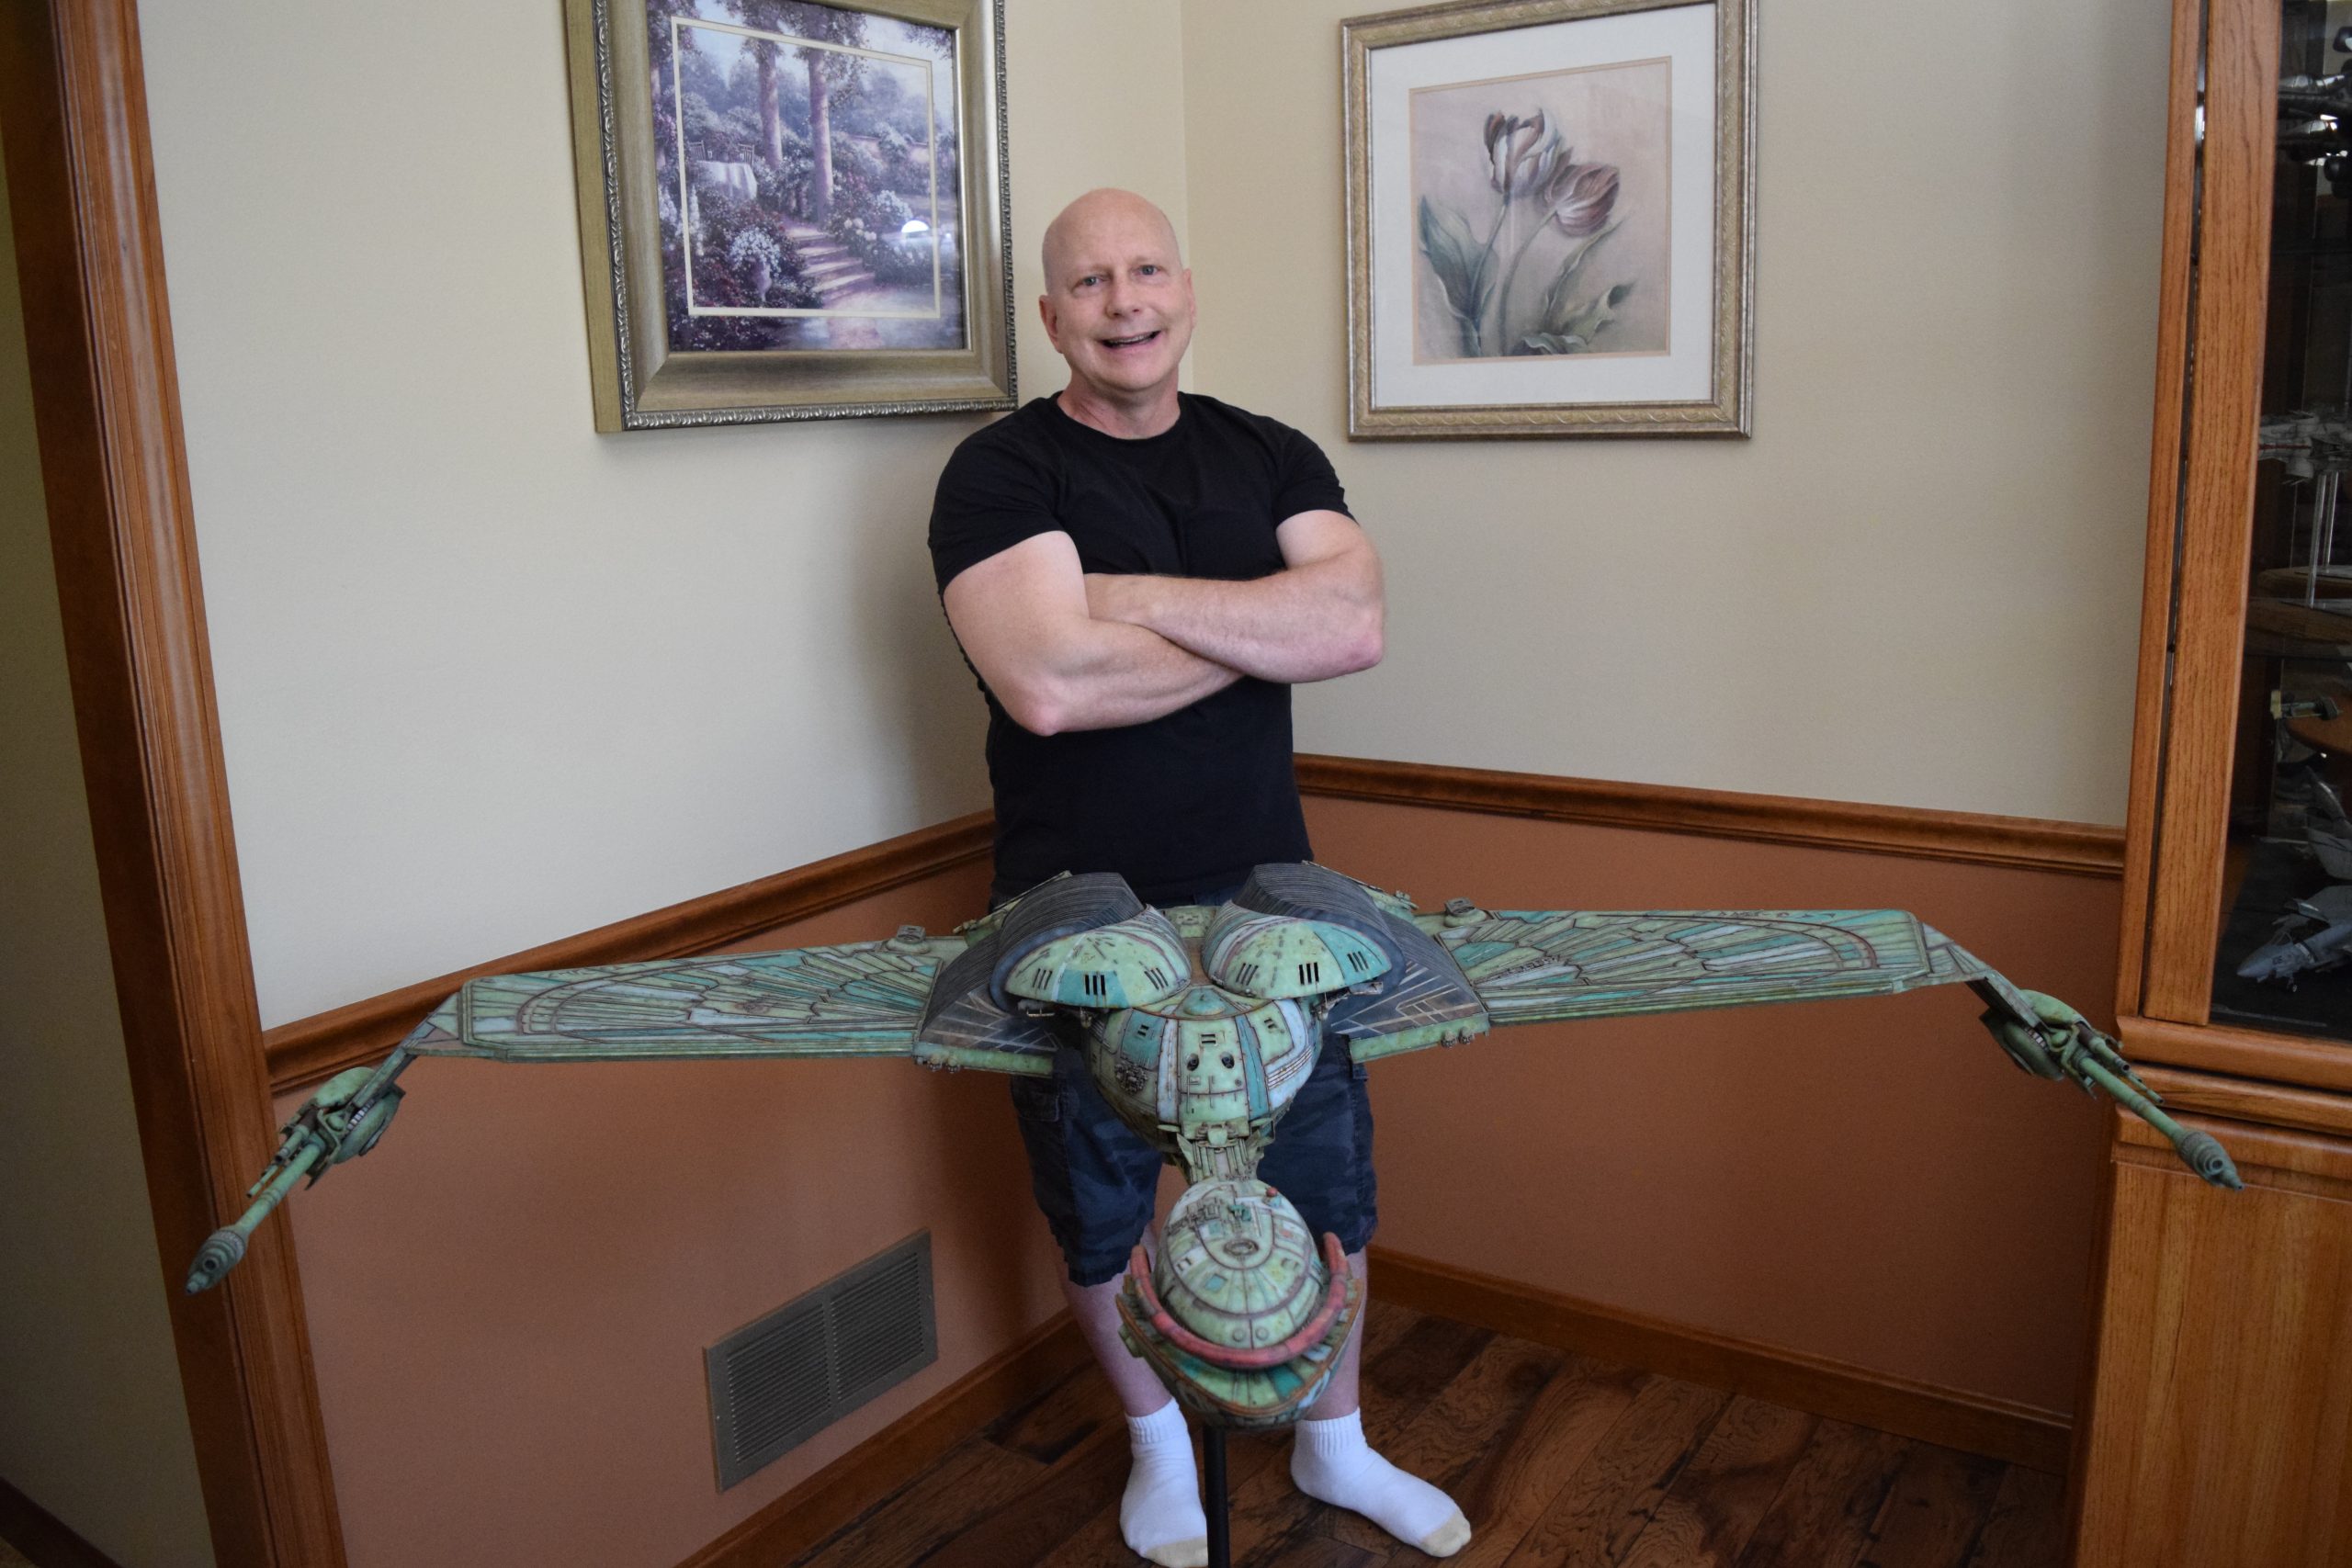
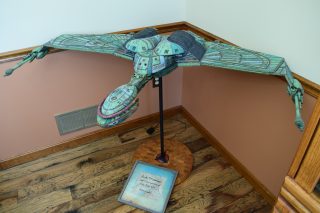
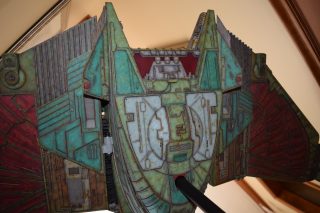
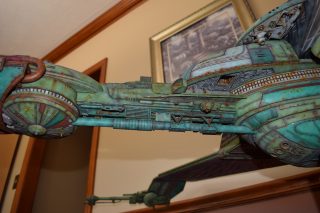
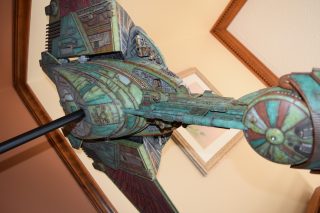
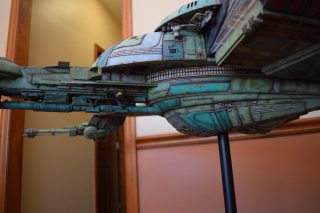
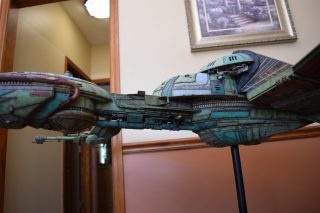
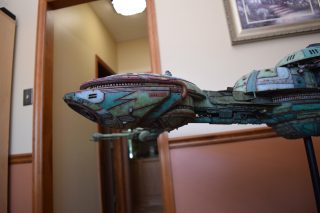
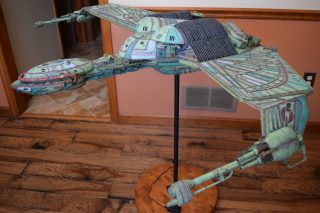
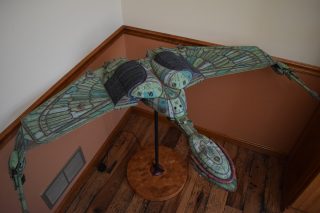
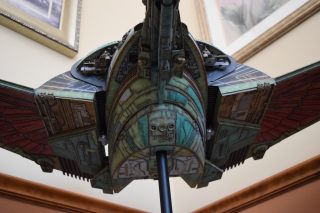
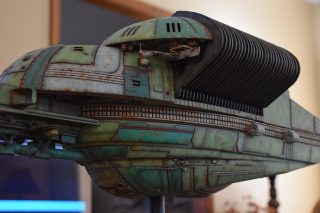
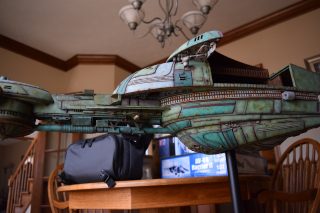
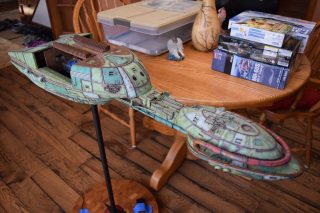
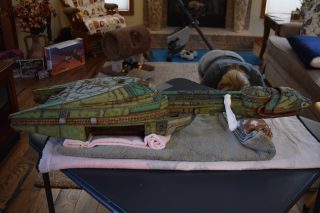
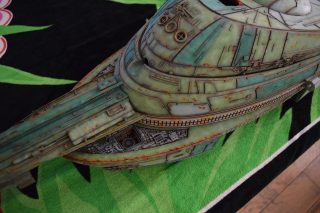
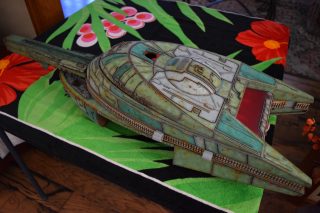
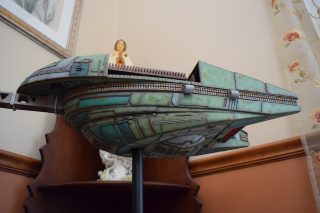
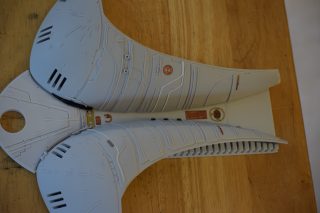
After 5 years of effort (and with several other subjects weaved in along the way), I’ve finally completed my studio scale B’rel Class Bird of Prey build up of the NICE-N-Models kit that I picked up back in 2014 at Wonderfest.
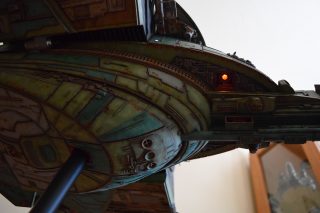
I wanted to include lighting for the BOP, with engine effects and with a photon torpedo effect. So I purchased a couple Madman lighting kits (Klingon cruiser lighting kit with engine effects and photon torpedo effects, as well as a Starship lighting kit for the steady lights and a couple marker lights).
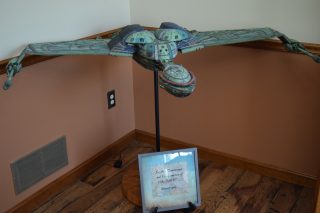
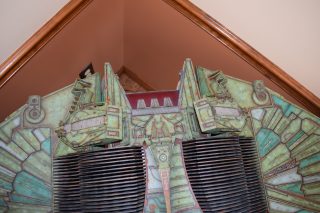
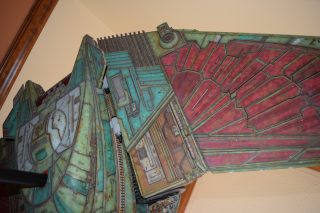
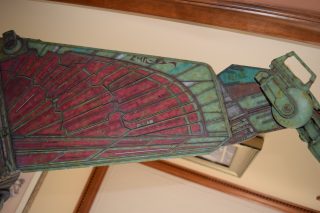
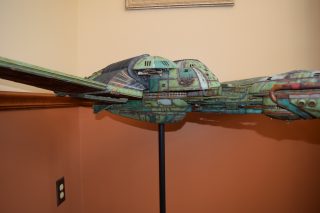
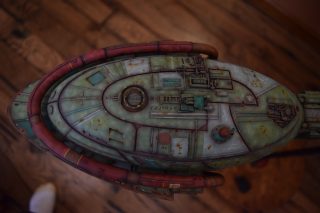
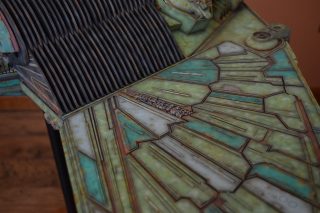
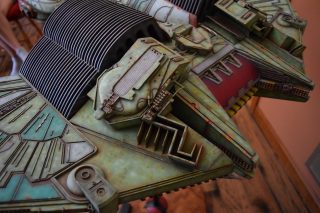
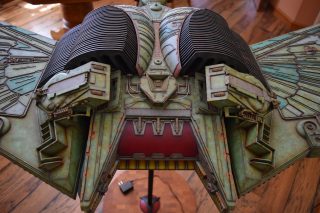
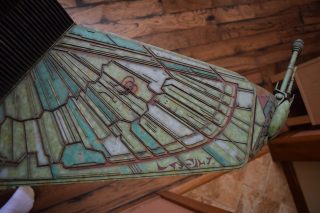
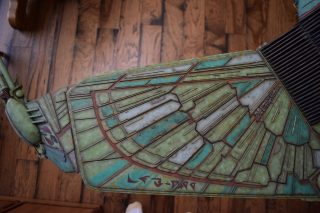
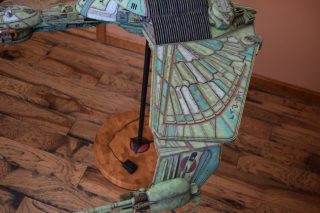
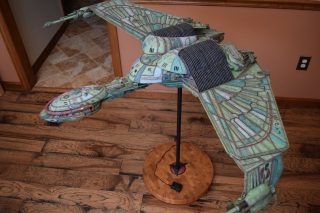
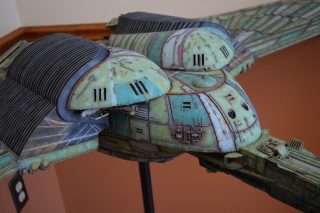
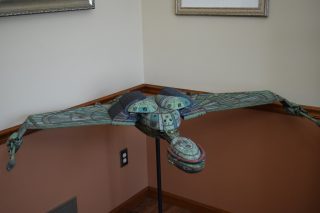
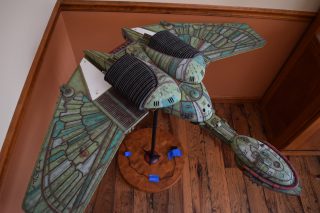
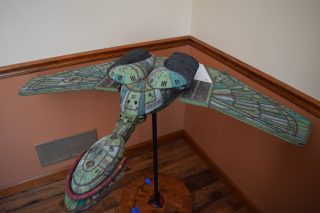
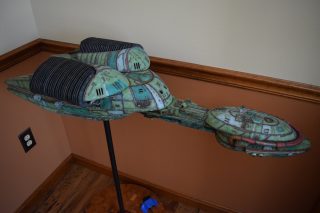
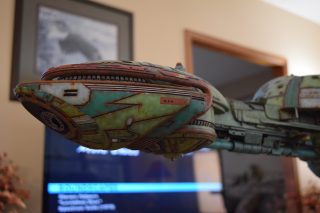
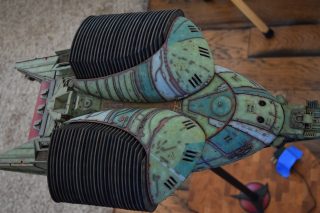
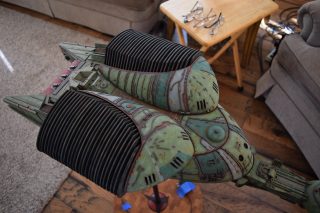
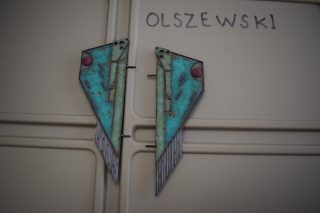
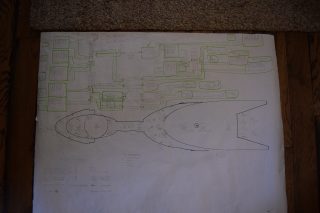
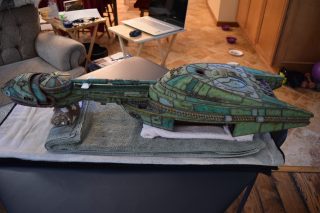
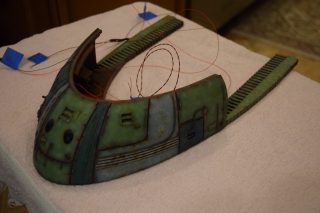
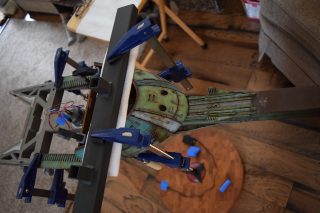
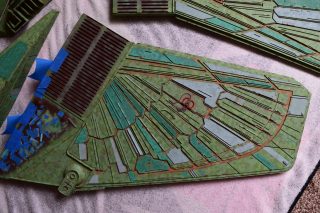
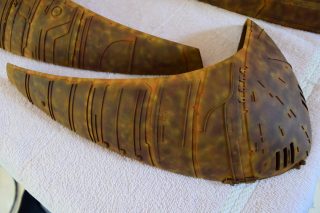
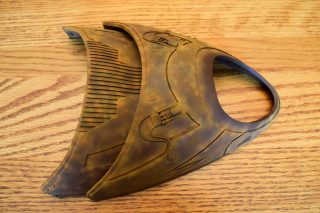
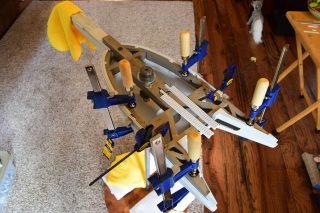
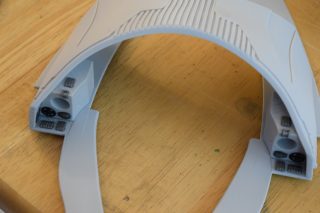
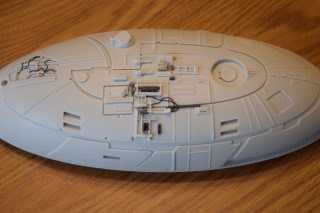
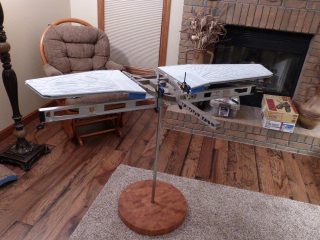
I built the armature (mainly just adding the wing hinge pieces to the wing armature plates – and to the main body armature), then added the detail pieces around the perimeter of the main body armature. From references, I was able to learn the wing angle positions for cruise (slightly angled upward) and attack (angled downward). Using a template with these angles, I positioned the wings at these positions and added identifying strips on the hinges, such that they would align at the corresponding angles – for use when displaying the wings at these different positions.
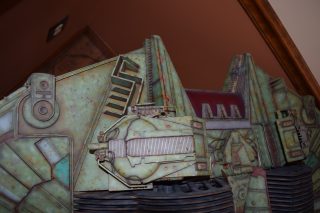
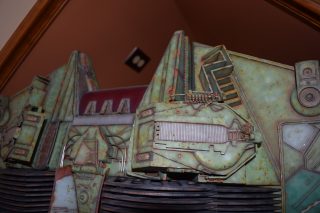
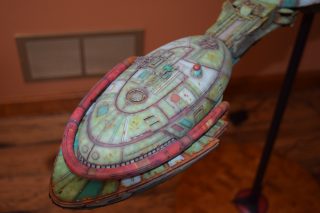
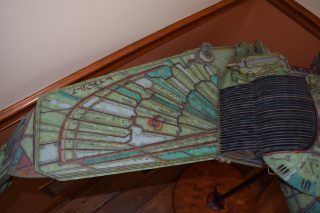
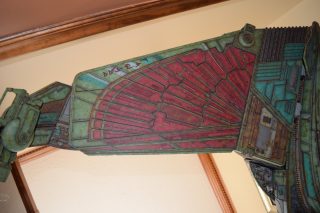
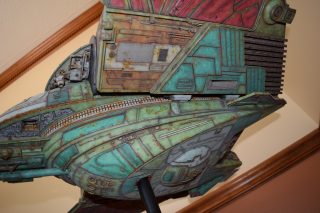
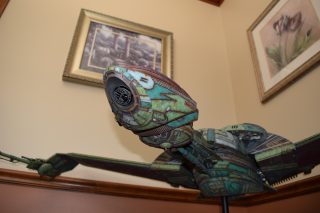
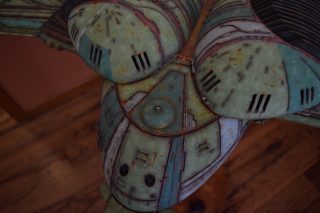
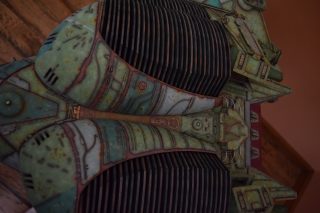
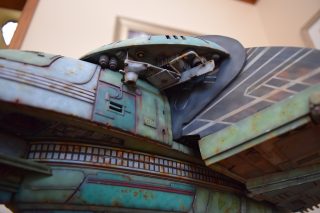
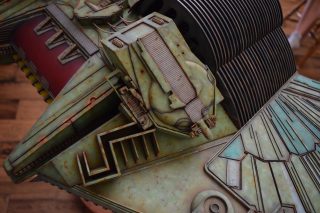
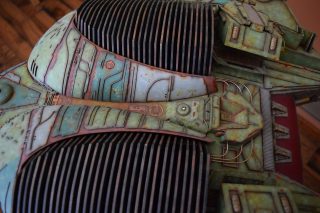
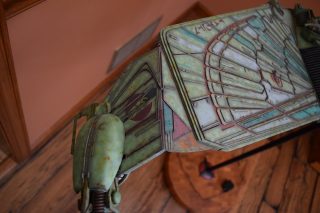
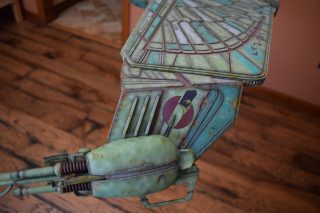
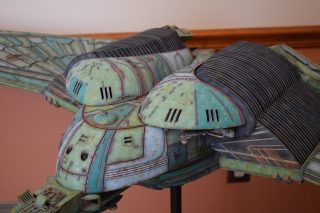
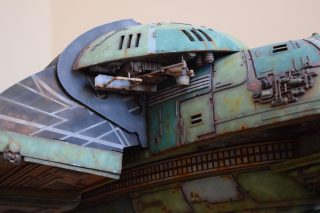
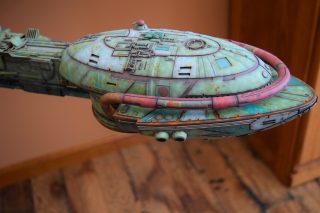
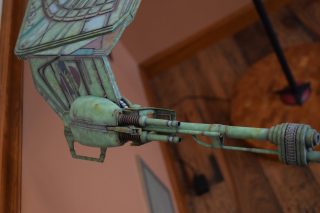
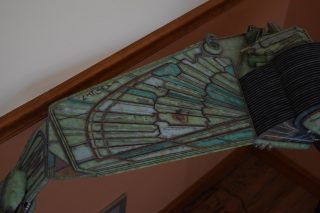
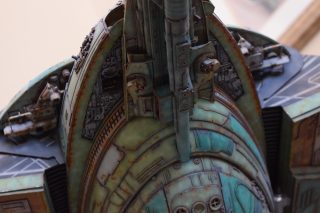
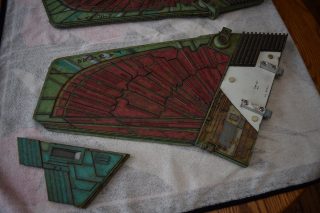
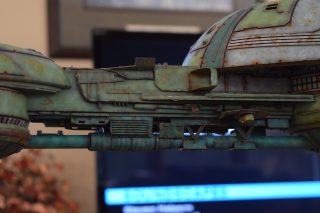
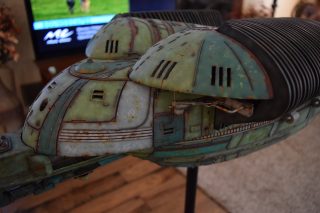
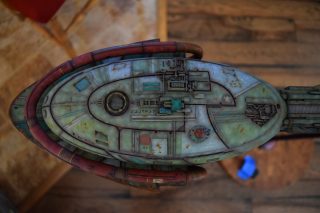
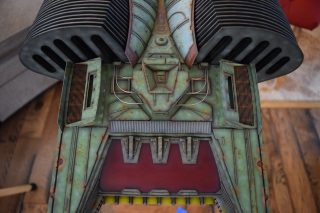
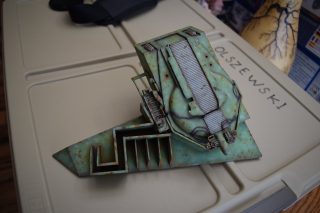
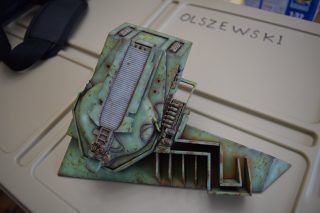
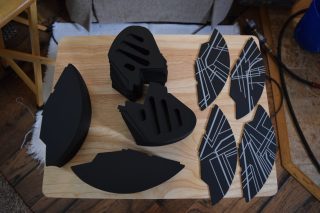
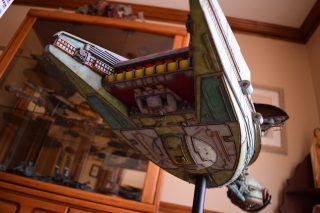
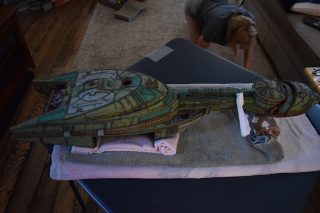
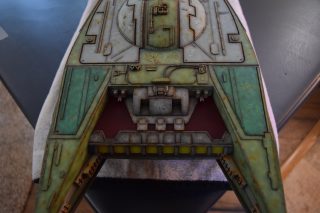
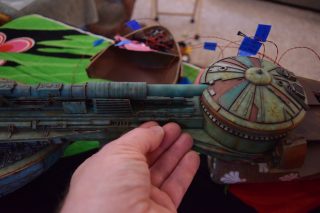
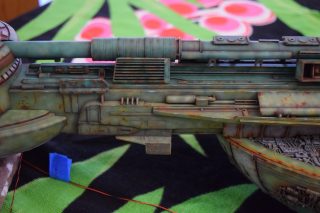
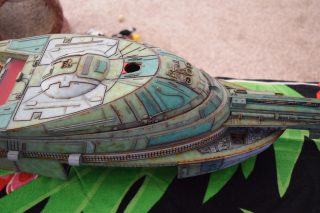
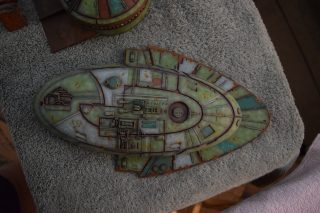
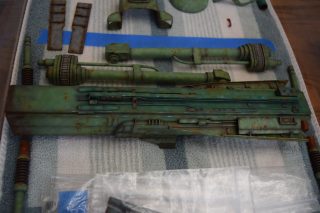
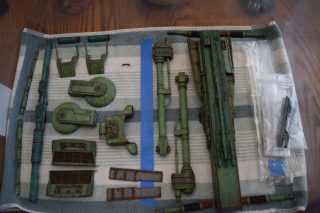
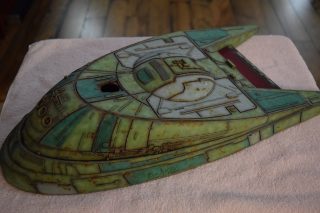
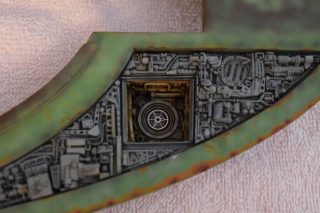
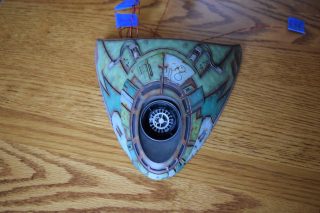
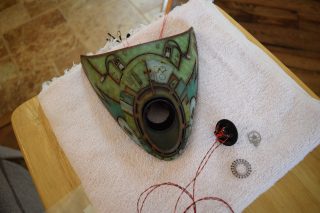
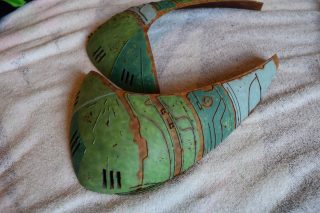
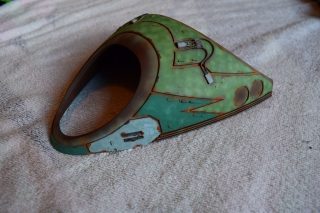
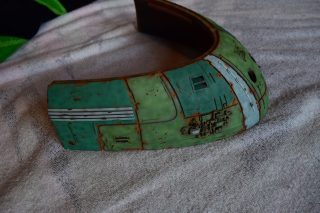
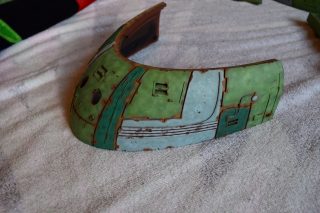
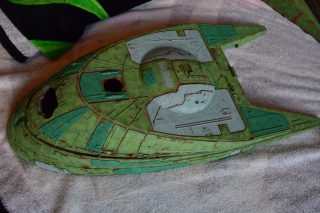
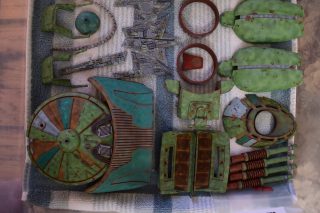
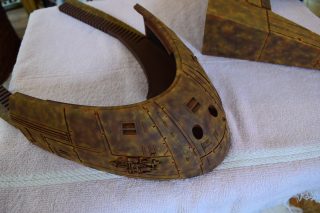
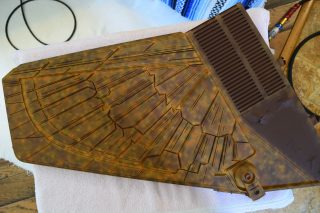
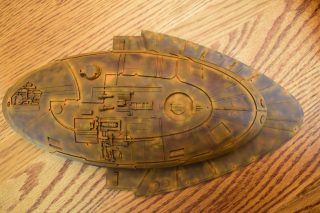
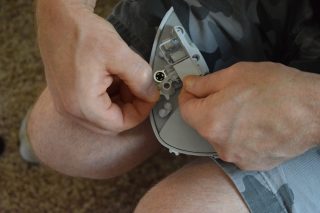
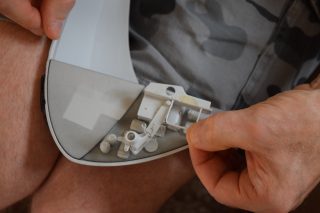
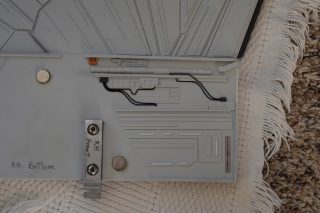
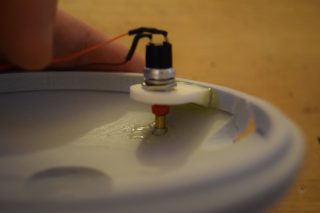
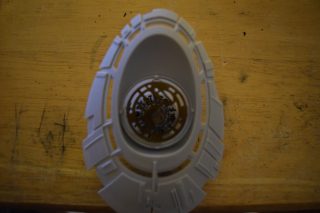
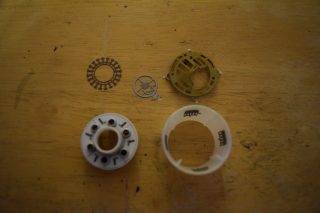
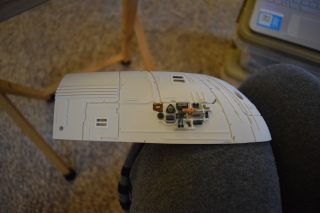
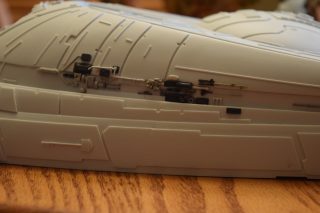
I built sub-assemblies prior to painting and weathering. I pillaged my spare parts “greeblies” to add details (supplementing kit detail parts) on the head, main hull, and underside of the wings, etc. I used available references to identify locations for kit detail placement. I did some add-libbing of additional details in selected areas that I liked (I’m not exactly a “stickler” to attempt duplicating exactly what the movie model had). To that end, I did fabricate a structure for the photon torpedo “port” in the lower part of the head. this would not only house the lighting effect for the photon torpedo, it also included some additional photo-etch details (from the spare parts bin) behind the kit supplied photo-etch photon torpedo emitter plate – to give this area some depth. Also, I scratch built / detailed recesses for the ventral impulse engines in the underside of the main hull. Finally, I used magnets to enable certain parts (wing hinge blocks, winglets, wing-tip gun pod covers, wing “generators”) to have the ability to be removed / installed easily – to allow the model to be transportable. Plus this helps when positioning the wings in either cruise or attack modes – to make access to the hinges easier.
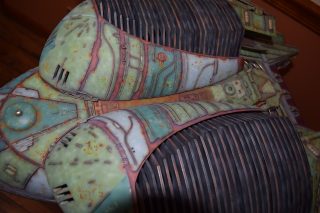
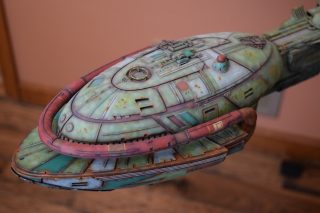
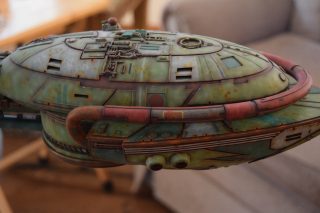
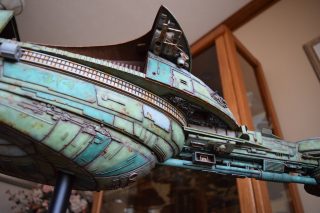
Next came the rust primer. For this, I used enamels (5 different shades of tan to red-brown rust) and applied this to all of the parts. I wanted to use enamels, as I planned to use latex for paint chips that rusted – and I planned to use acrylic paints for the finished BOP colors. Once the rust primer colors were applied, I applied latex on panel corners and select areas that would be prone to paint chipping.
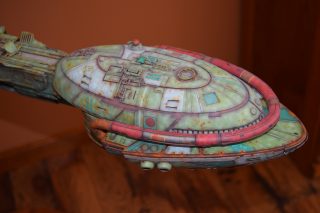
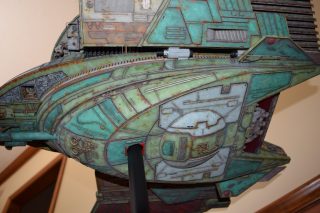
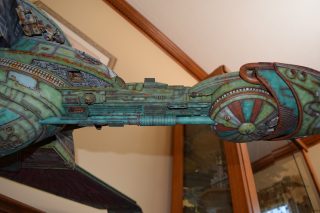
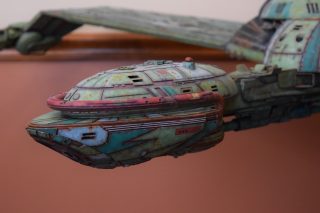
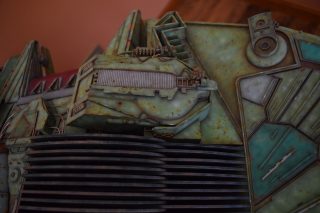
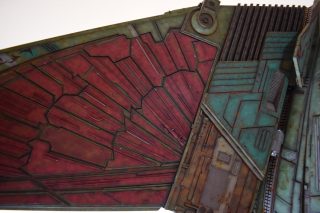
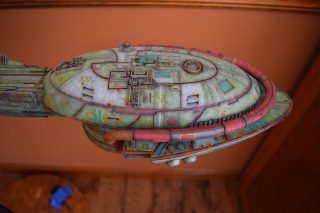
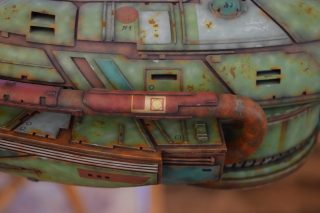
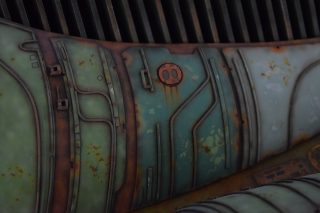
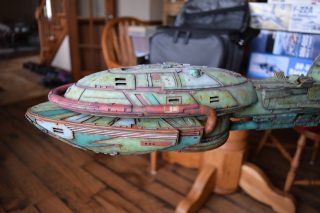
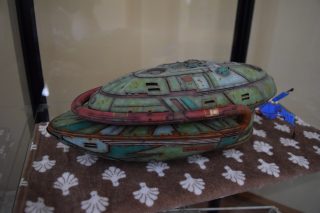
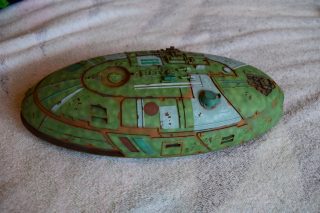
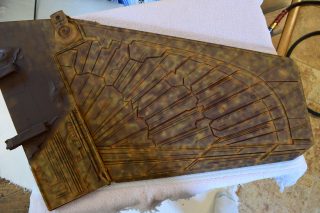
Then came painting of the primary BOP colors. For the colors, I studied many references and available pictures. I ended up using several Polly Scale, Model Masters, and Tamiya paint colors that I felt were a close match. I did some custom mixing of colors to create faded, shading, weathered finishes on the panels of the hull, head, wings, etc. I used a layered technique, as I like to think of a single color as having many shades / variations due to being worn / exposed to the elements, etc. For any given color (Pale Green – for example – involved layering as many as 3 to 5 variations for “texture”). For other visual interest / texture, I used the latex to create panels that have underlying colors of different hues. As an example: light gray – then latex – then darker grey – peel up latex to review light grey paint exposed from dark grey paint peeling off. bare metal chips were also included. For the larger areas of rust (wide “trenches” between areas of panels – or heavily rusted areas – I airbrushed the primary colors up to those areas – stopping short to keep the rusted areas prominent.
After all parts had all the primary colors (layers of colors), light green, dark green, grey, red, etc., I sprayed all parts with future clear coat (acrylic) to project the paint finish for the additional weathering steps to come. Before weathering, I applied the kit decals, and supplemented this with some additional decals (Klingon markings). I sealed the decals with future clear coat.
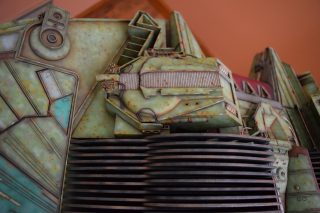
Additional weathering involved: More rust application using LifeColor rust pigments / filters (5 different rust colors – blending) in all of the areas with exposed rust, some AK “crusted rust” (3 different rust colors – again blended) – in very select areas. dry-brushing various lighter shades of select colors – and metallics – for worn panel edges, etc. Oil washes / pigment washes to bring depth to panel lines, edges, hardware areas, etc. Outlining panels with “smoke” filter to “dirty up” panels and hardware areas, etc. The final step in the finish was to apply the clear flat (matte) coat to dull down the weathered finish on all of the parts / sub-assemblies.
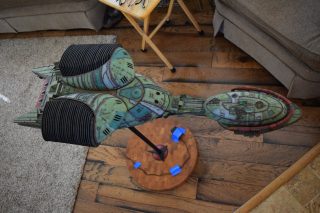
Finally, the most satisfying part… Bringing all of the finished sub-assemblies together and integrating the lighting kit – to bring the BOP to life. This is by far the most effort (spanning over 5 years of elapsed time) I have ever put into a model. It was an adventure that I’ll always treasure – almost as much as enjoying the finished product.
Thanks,
Dave Olszewski


Dave Olszewski

USA
**


Steve Neisen
USA
**

**

**
**

*****************************
Statements made, or views expressed may NOT be the views of Modelers Miniatures & Magic
Pricing and Availability are subject to change by the Kit Maker/Vendor or Artist at any time. Modeler Magic is not responsible for maintaining the prices in accordance to the changes made by the Kit Maker/Vendor or Artist.
Professional Customer Service and Quality Control are the responsibility of the Kit Maker/Vendor or Artist selling the item of which Modeler Magic is only showing for them.
Modelers Miniatures & Magic has no professional or monetary affiliation with any kit makers, vendors or artists shown on this site other than showing the works and offerings those Artists, Kit Makers and Vendors wish to show on Modeler Magic in their own names. Modeler Magic promotes the art form in this way. Modeler’s Miniatures and Magic claims no trade marks or copyrights on anything shown on it’s site other than it’s own created artwork presented. Modeler Magic reserves the right to remove any material shown at any time from anyone, and we will follow all legal aspects of the art form as they are presented to us by the proven legal owners of the above stated materials and/or their court appointed representatives.