
Thought I would submit some pictures of my latest build.
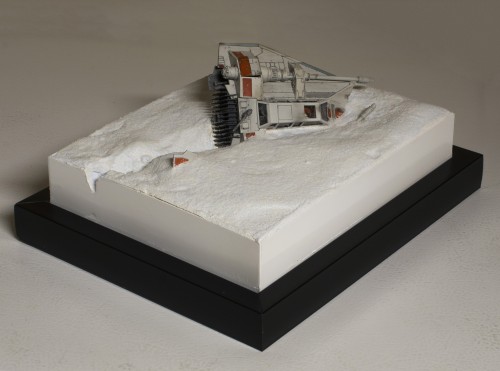
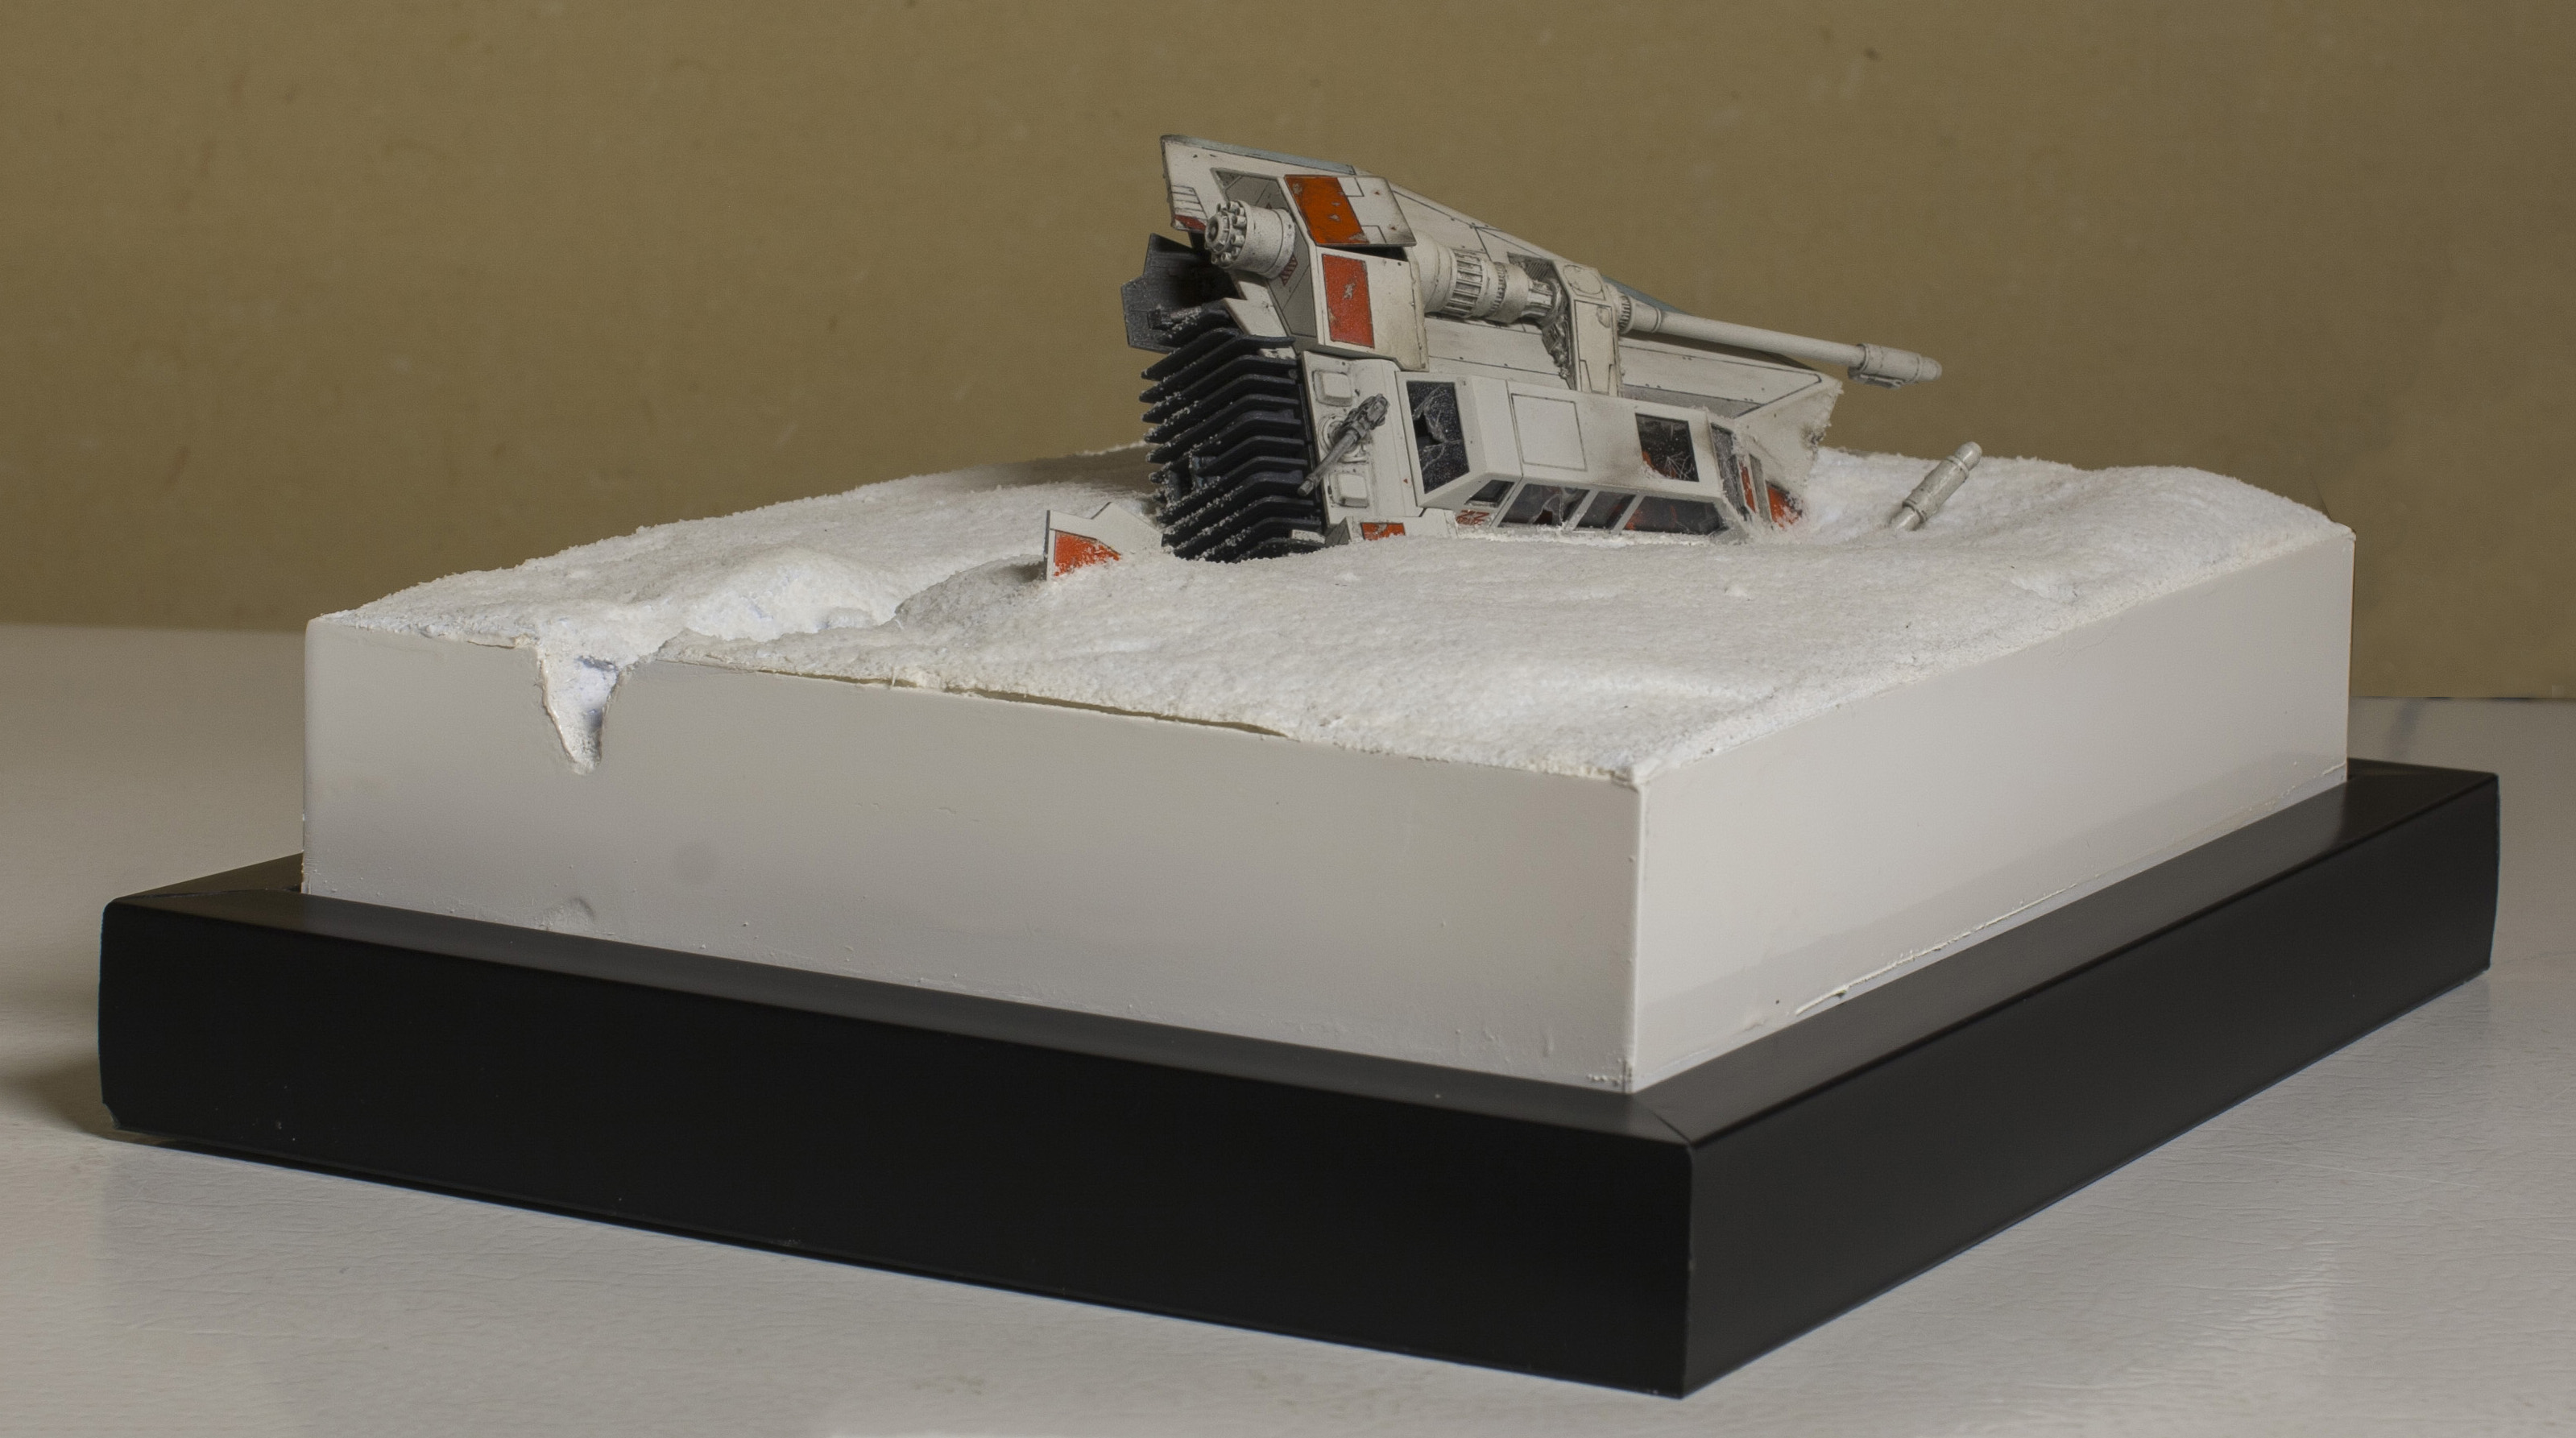
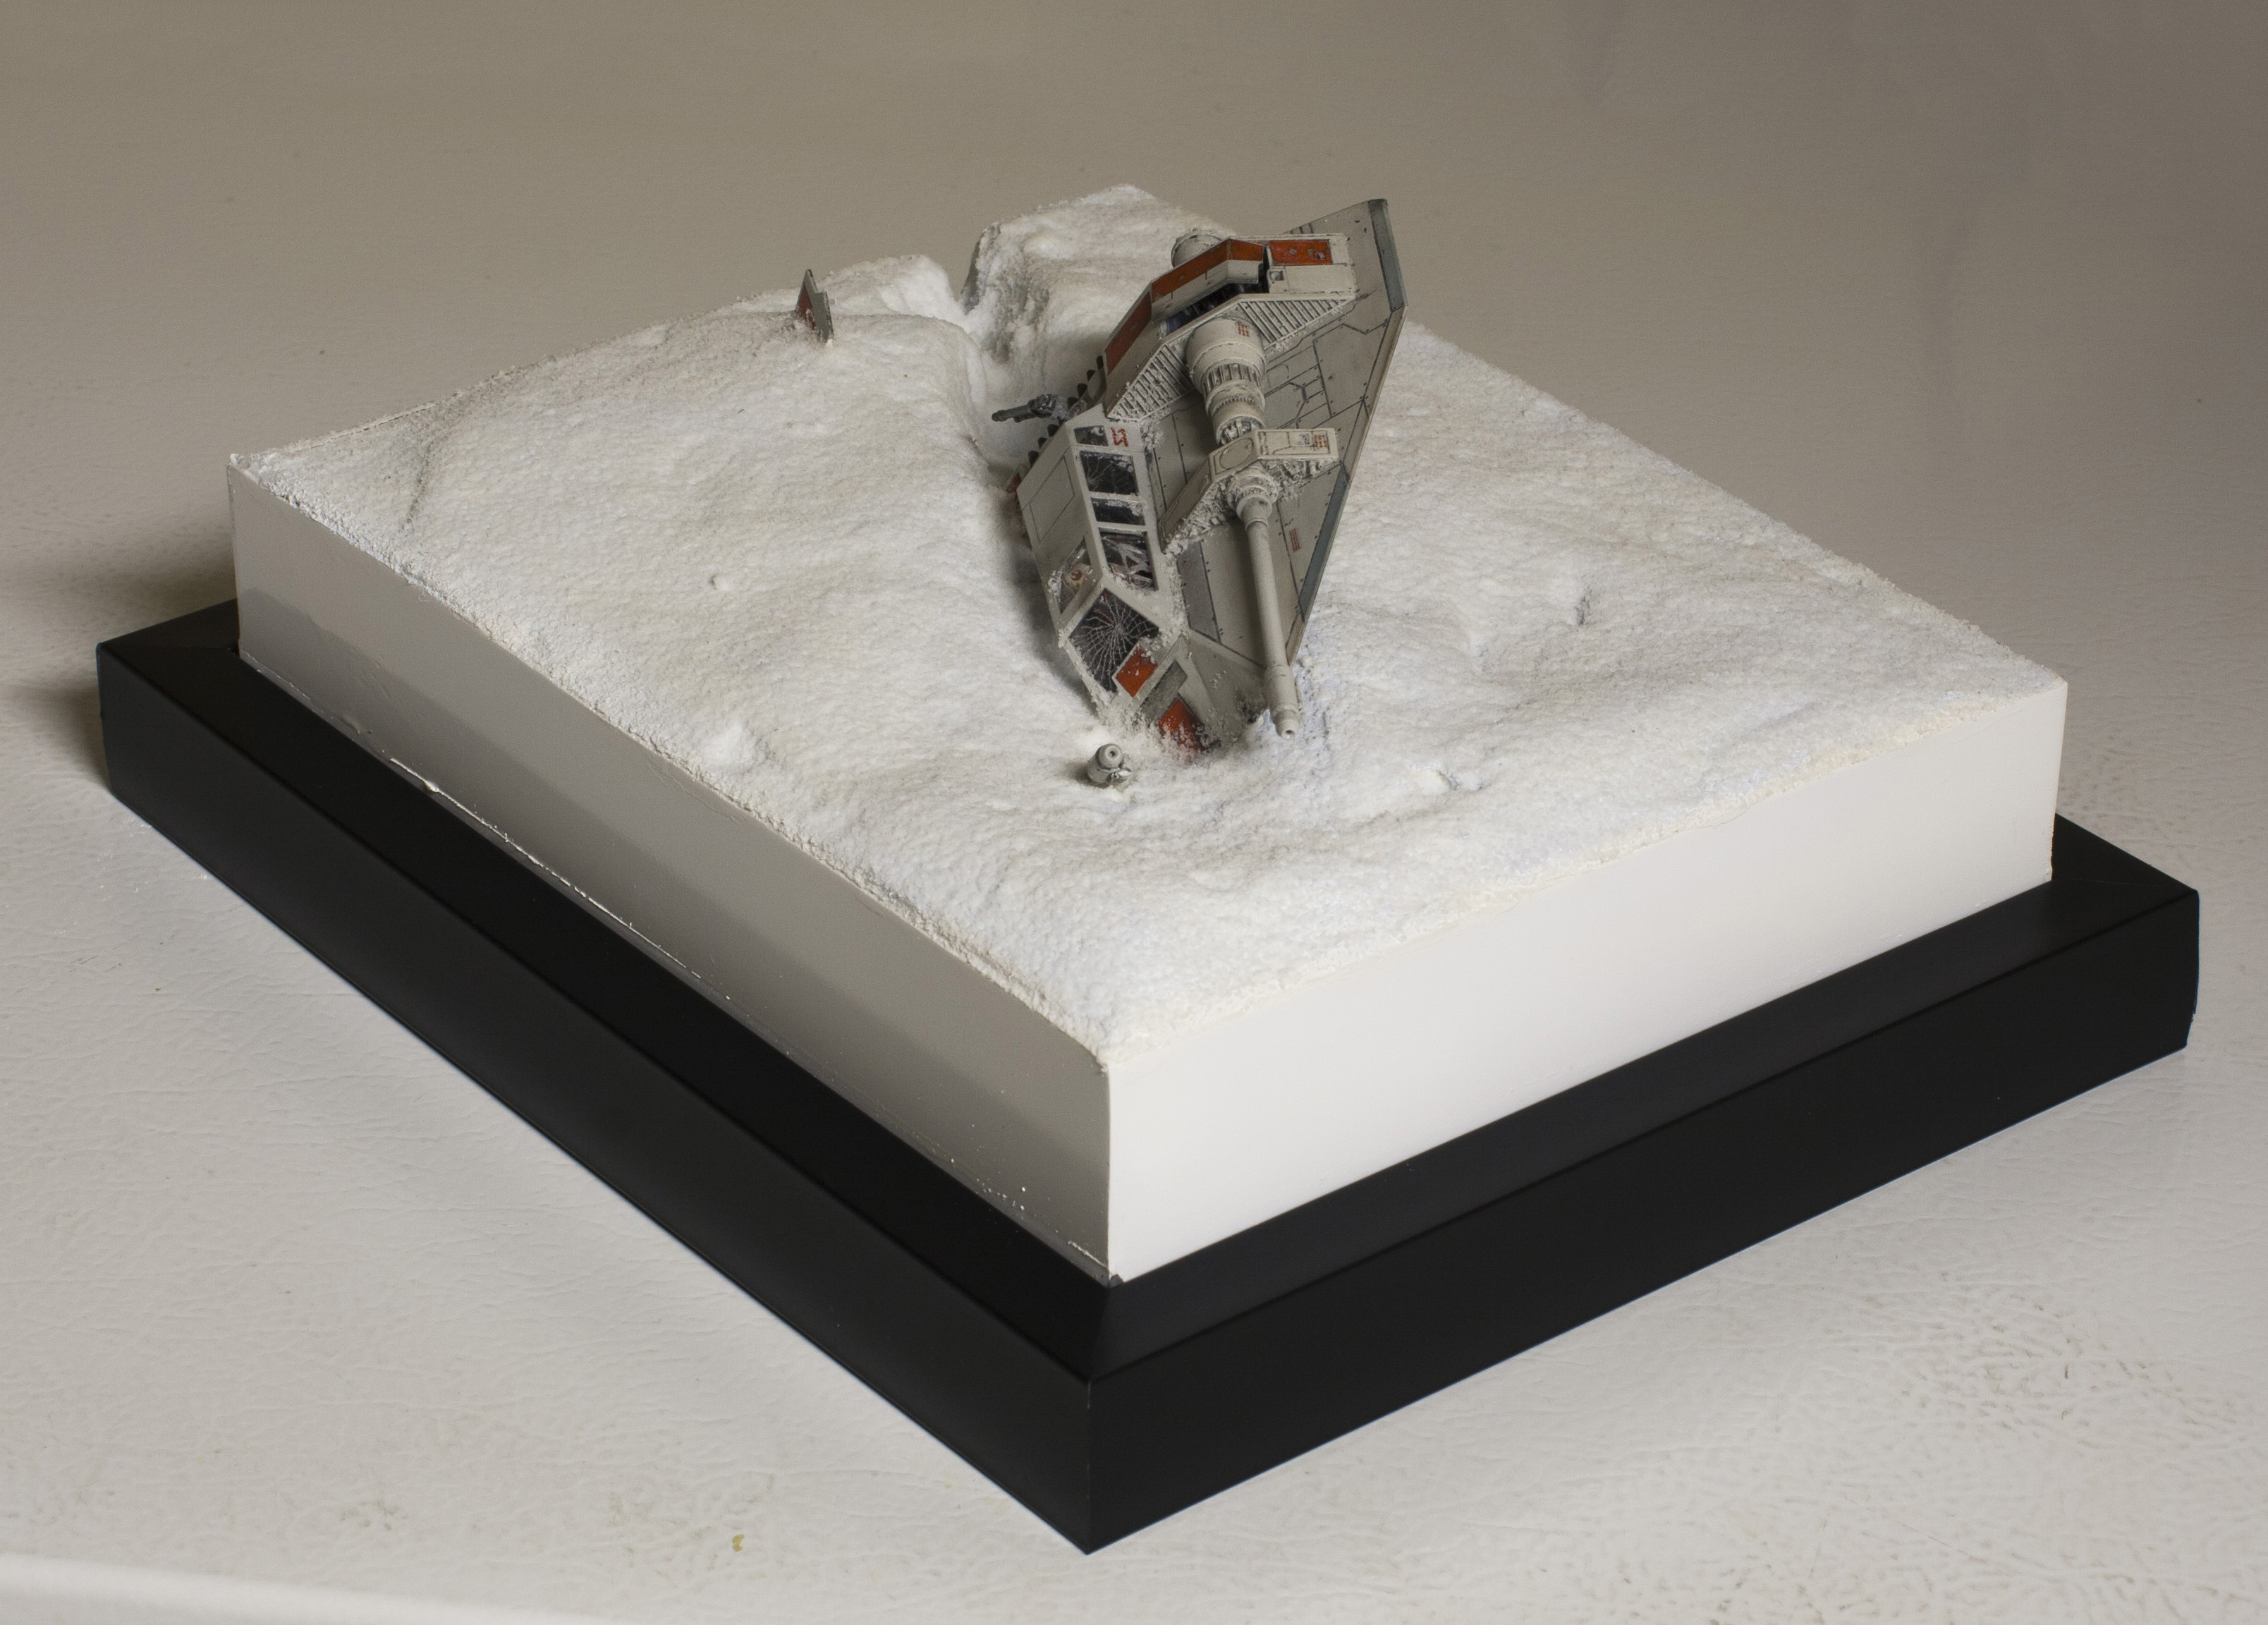
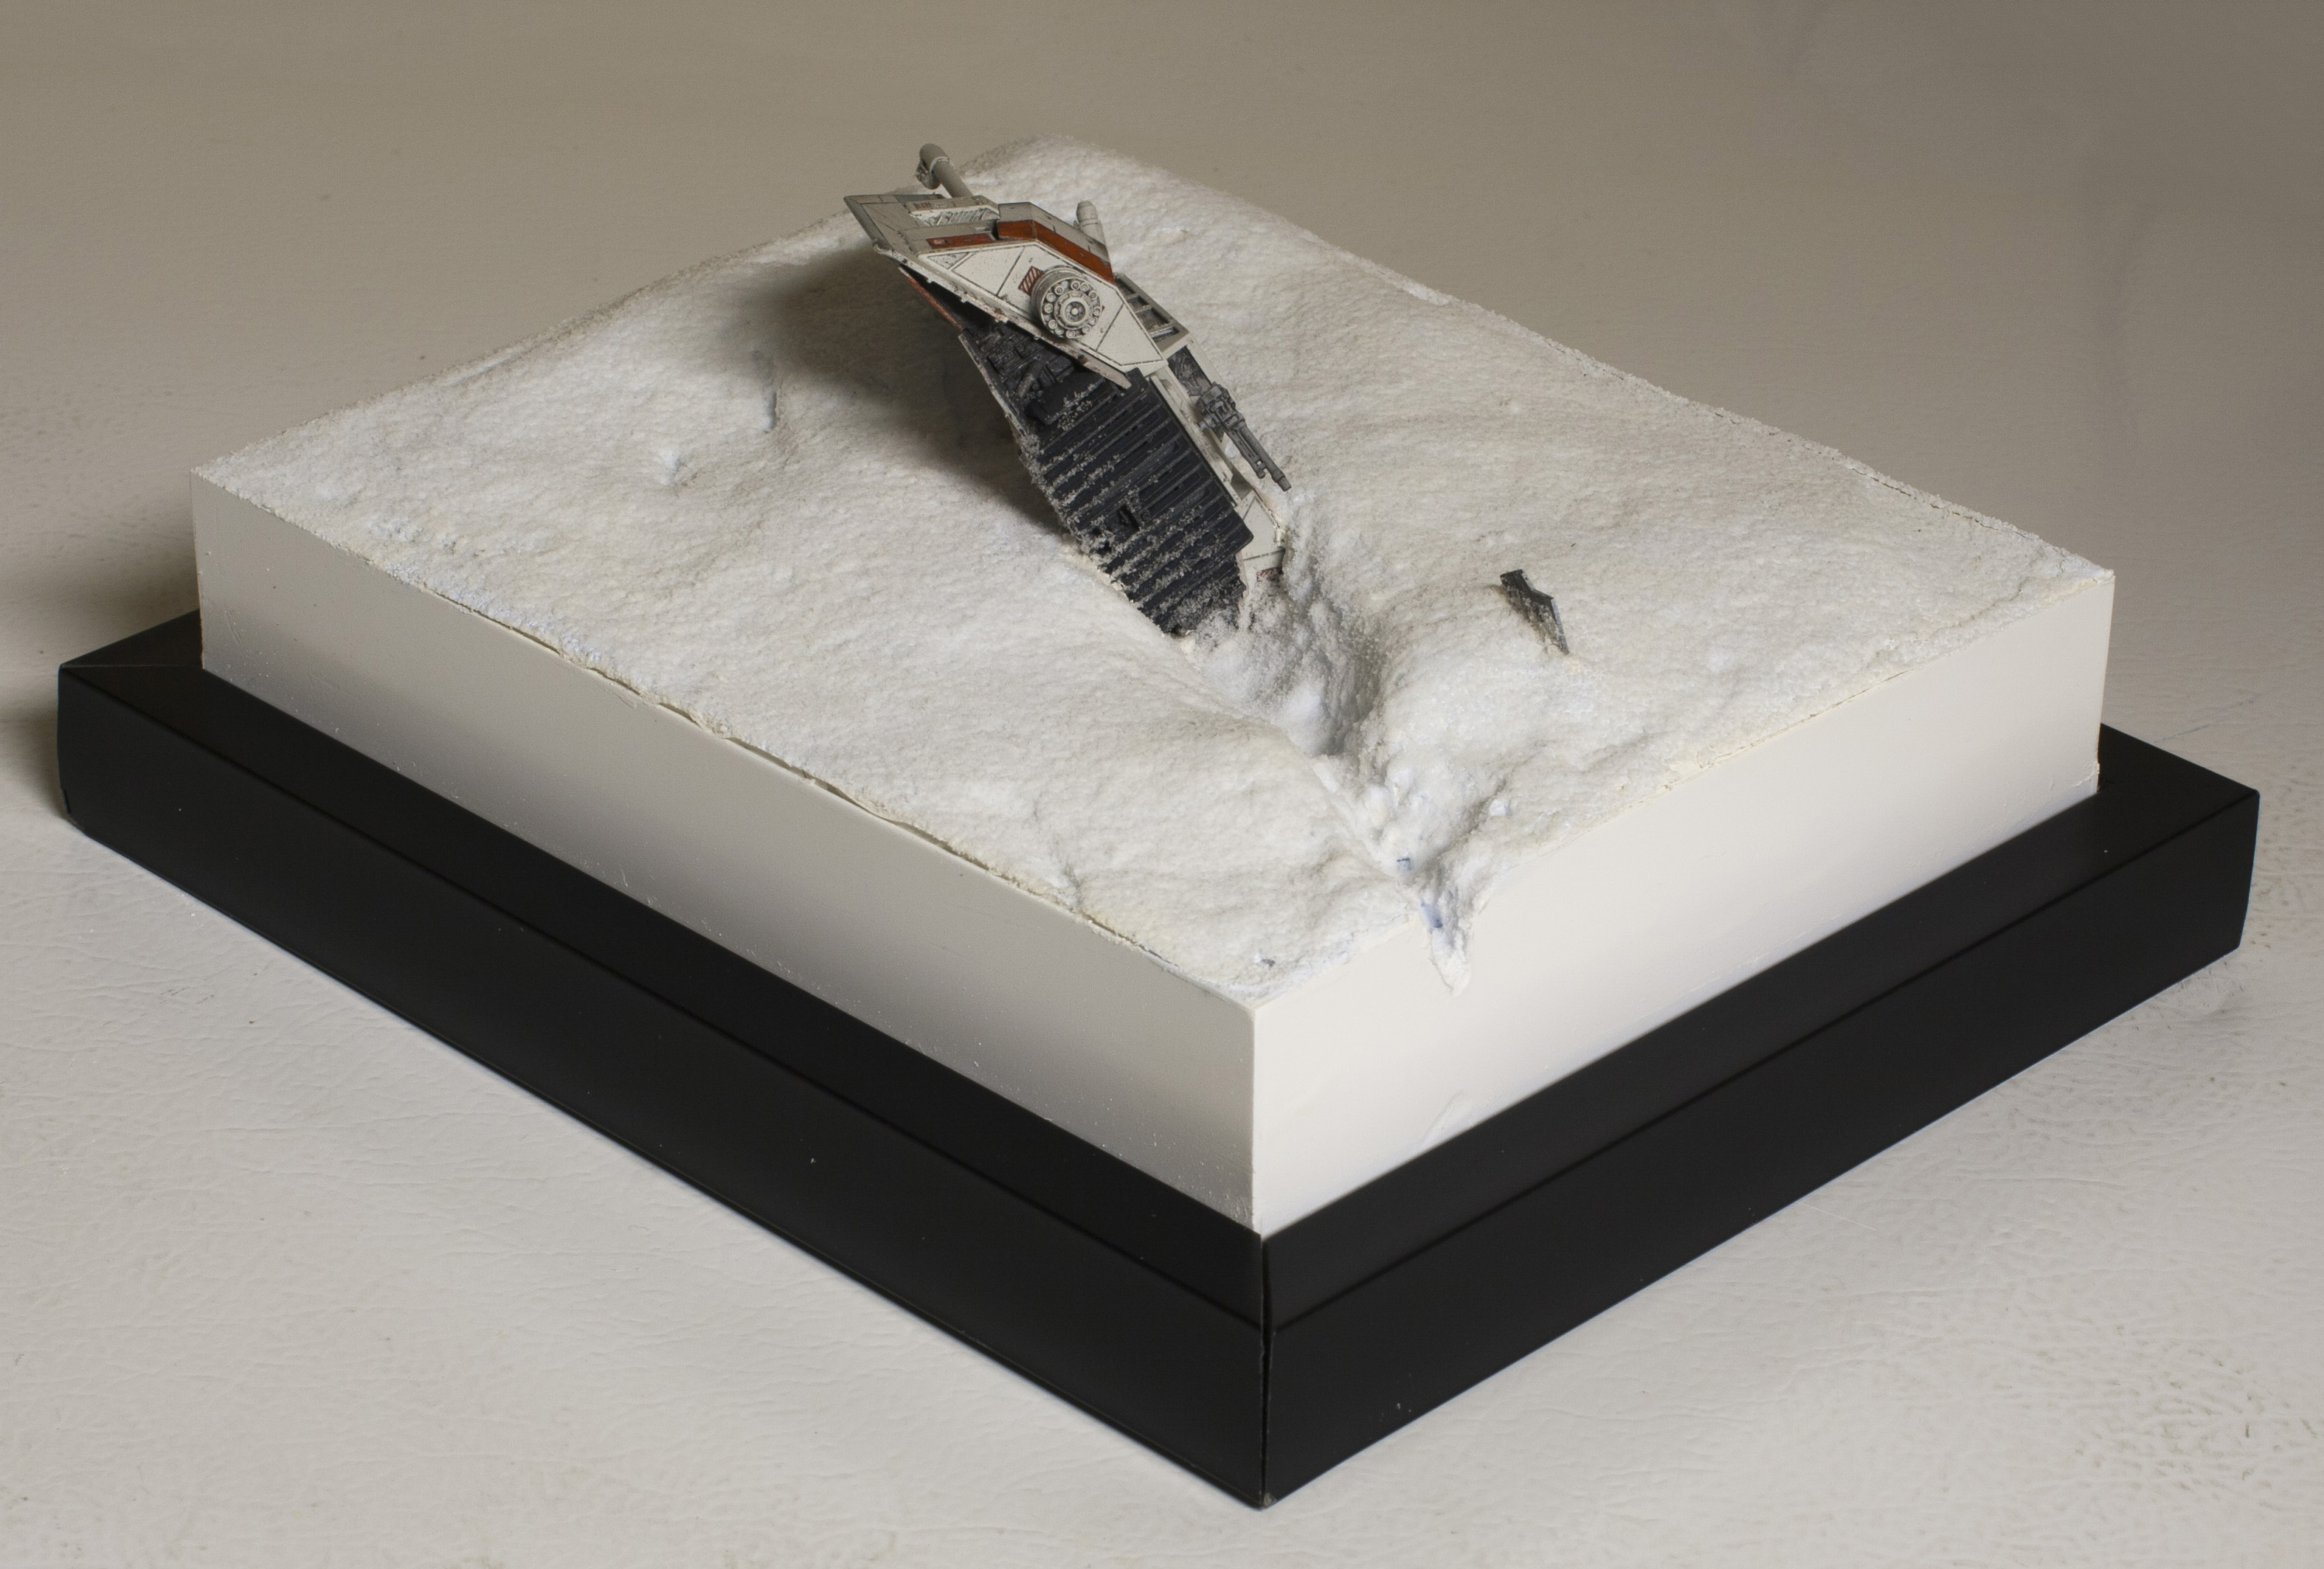
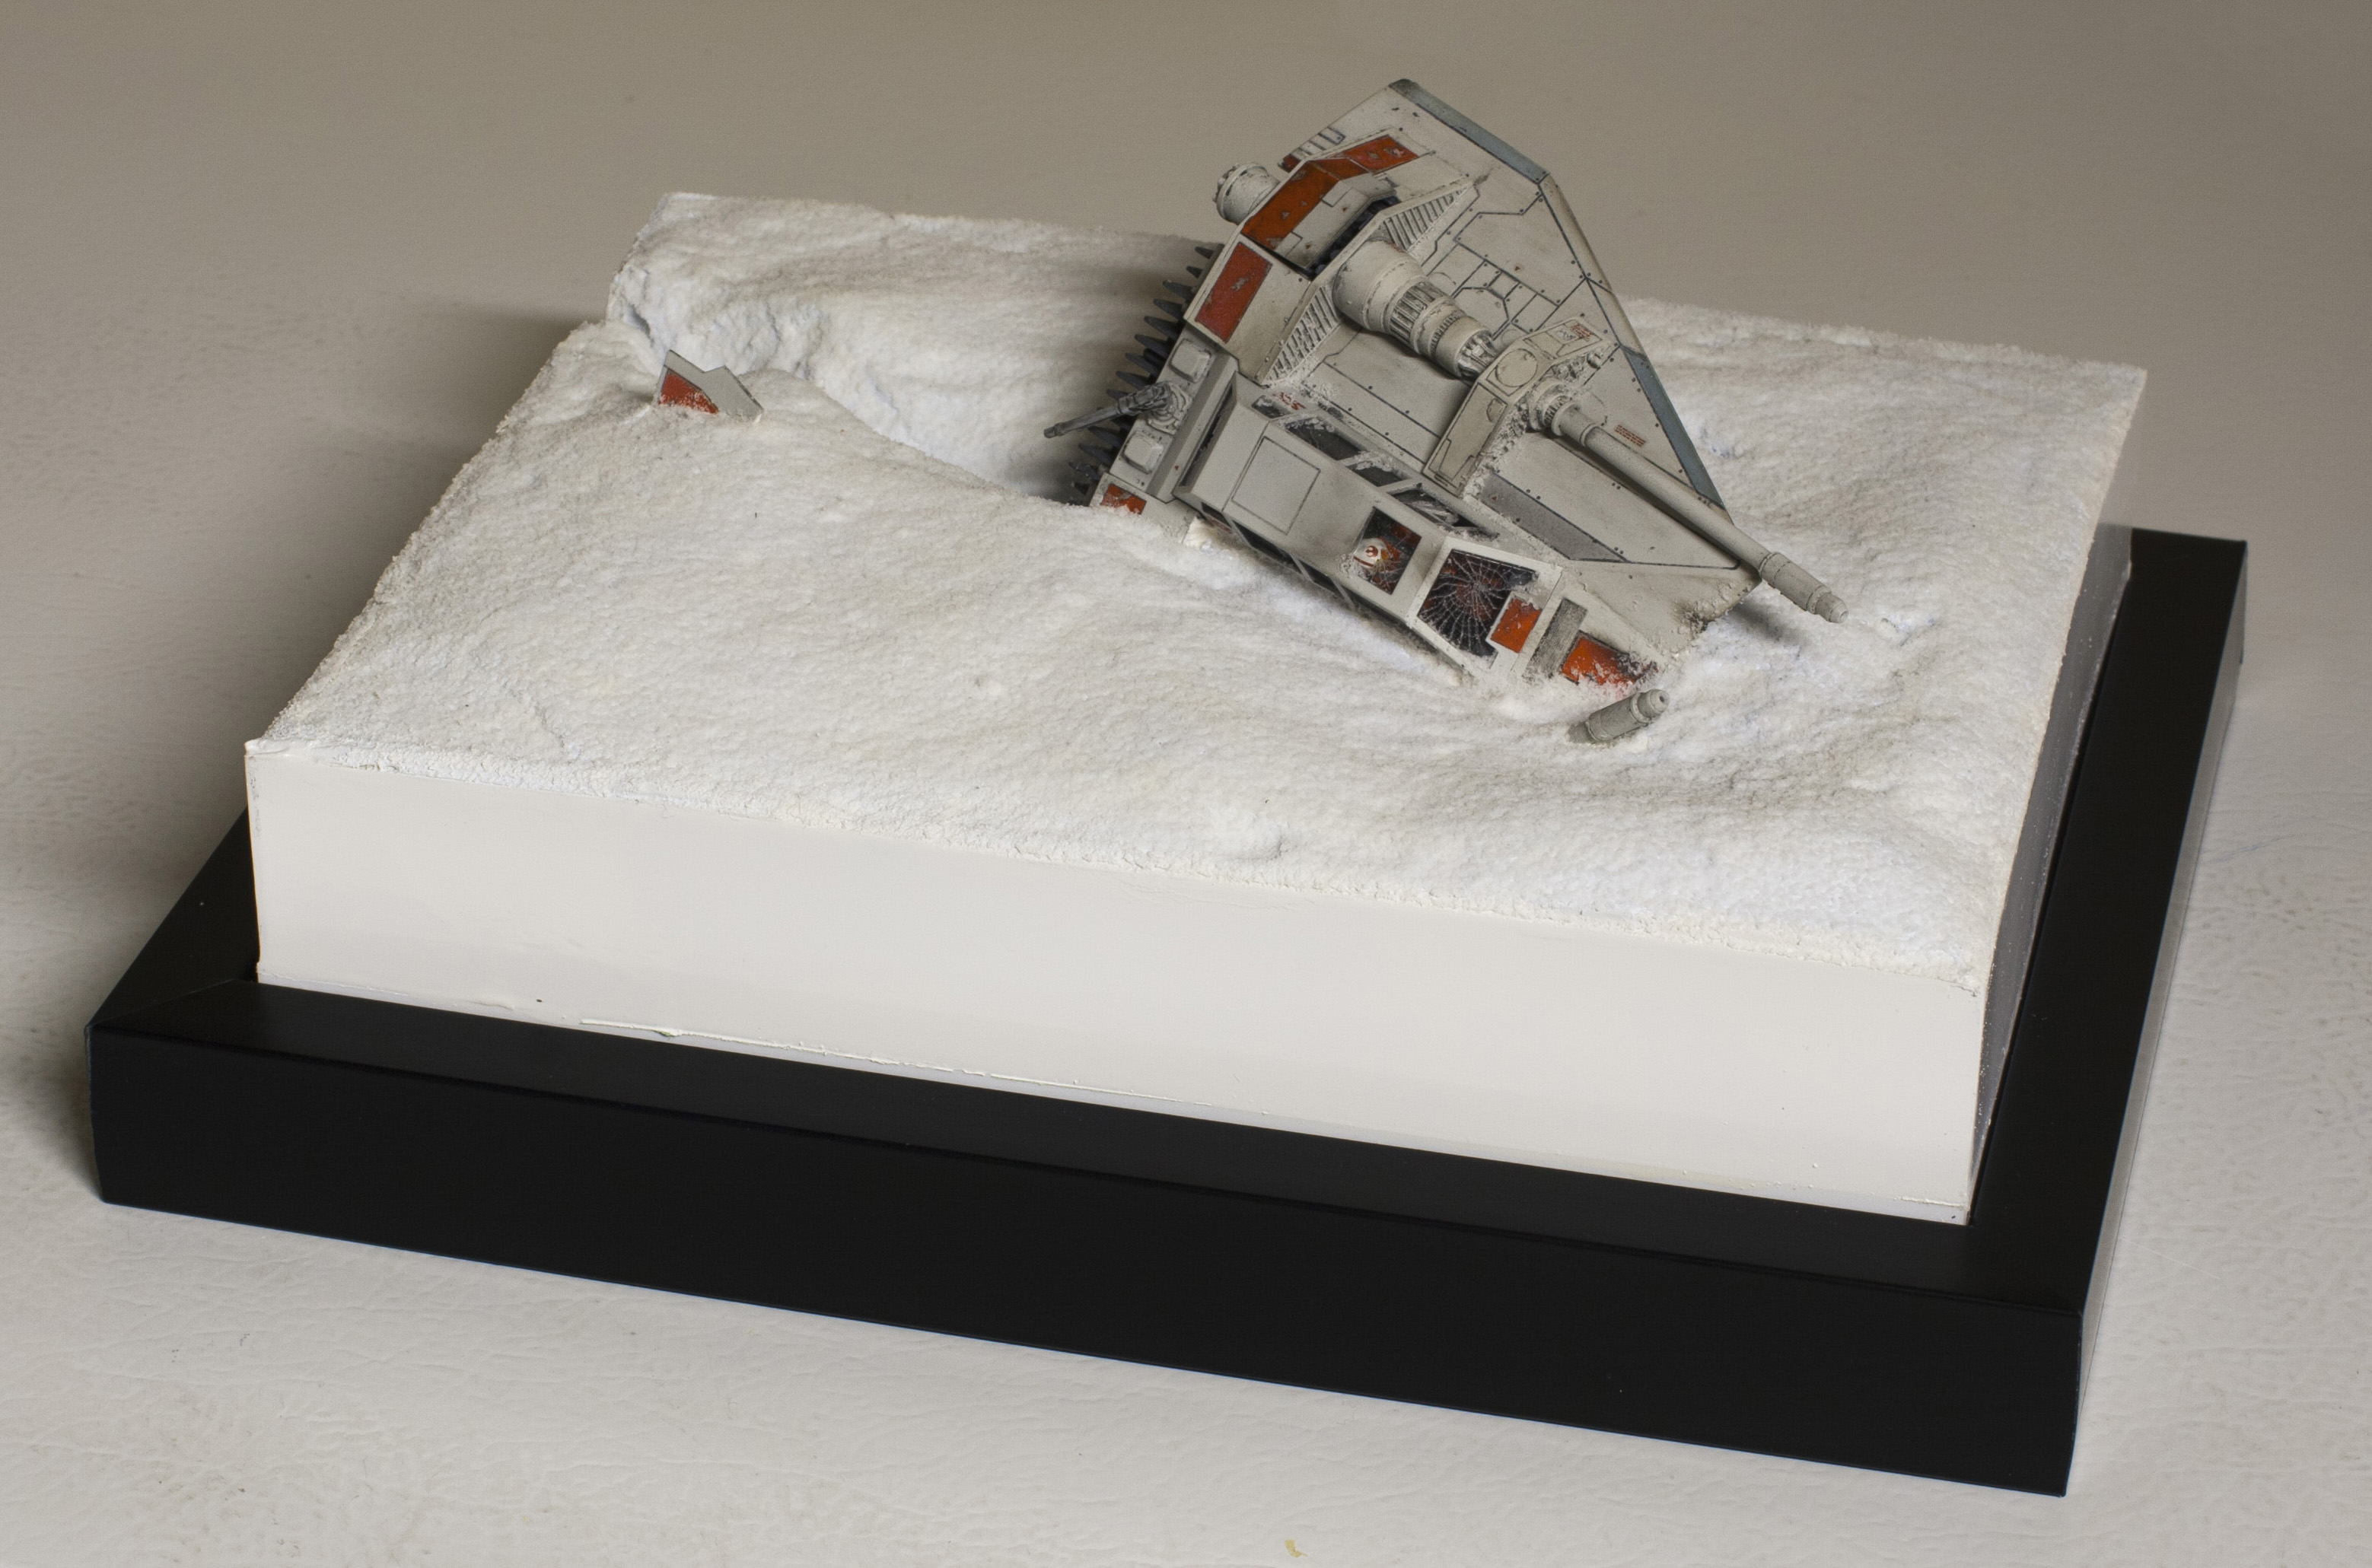
Inspired by a picture promoting the new star wars battlefront game, I wanted to recreate the scene using the new Bandai Snowspeeder.
I used expanding foam, then, while it was curing, took the snowspeeder (wrapped in plastic wrap), and dragged it through creating the scar in the snow. Then covered it all with spackle. Carved out my spot further where the snowspeeder would come to rest. I had a lot of fun cracking the cockpit glass. Using a scribing tool, I carved in the spiderweb crack in the front, and in a few other panels . . then just took the side cutters and chunked away some glass and let nature run it’s course. Inside the cockpit, the pilots needed to be re-positioned. So had to chop their arms off. Then re-positioned them to have them slumped over . . and even gave one a broken arm and let it hang down.
After that came the scary part. Permanently sinking that snowspeeder in, and spackling it into the scene.
After that dried (and cracks filled with silicone glue) . . . . I tried out some Woodland Scenics snow. Looked pretty good, but . . . it let a lot of the color of the spackle through which had an off-white creamy color. So, took some of my son’s acrylic paint from the dollar store. Squirted on a bunch of white and a few drops of royal blue to get a real light robin’s egg blue thing going . . to give the snow a cold look.
Then, taking the advice of the guys from the model railway store . . . I mixed up a concoction of white glue and water. (they suggested 50/50 . . . I ended up using probably closer to 20 glue, 80 water). Put it in a spray bottle, and soaked it all.
Sprinkled on the snow . . . didn’t look bad . . . but . . wasn’t quite the look I was going for. Leaving that snow on, I sprayed it again . . . got it good and soaking wet. Sprinkled on more snow.
That kinda created a more wet/packed snow look . . . more what I was going for.
Then took a mix of that glue solution, and a few flakes, and tried to brush on a slushy mix on the front of the speeder and the underside.
So here are the finished pictures. Hope you enjoy.
Thanks
Jeremy Kennedy


USA
*****************************
*****************************
Statements made, or views expressed may NOT be the views of Modeler’s Miniatures & Magic
Pricing and Availability are subject to change by the Kit Maker/Vendor or Artist at any time. Modeler Magic is not responsible for maintaining the prices in accordance to the changes made by the Kit Maker/Vendor or Artist.
Professional Customer Service and Quality Control are the responsibility of the Kit Maker/Vendor or Artist selling the item of which Modeler Magic is only showing for them.
Modeler’s Miniatures and Magic has no professional or monetary affiliation with any kit makers, vendors or artists shown on this site other than showing the works and offerings those Artists, Kit Makers and Vendors wish to show on Modeler Magic in their own names. Modeler Magic promotes the art form in this way. Modeler’s Miniatures and Magic claims no trade marks or copyrights on anything shown on it’s site other than it’s own created artwork presented. Modeler Magic reserves the right to remove any material shown at any time from anyone, and we will follow all legal aspects of the art form as they are presented to us by the proven legal owners of the above stated materials and/or their court appointed representatives.
****************************************