Famed artist Charles Adams works speak for themselves. Pure Excellence! And now we get to see him building this fantastic studio scale Battlestar Galactica!


This is a complete body structure build for a client who wants to handle the surface detailing himself. This is being built using the same patterns and components developed for the Custom Replicas battlestar project.
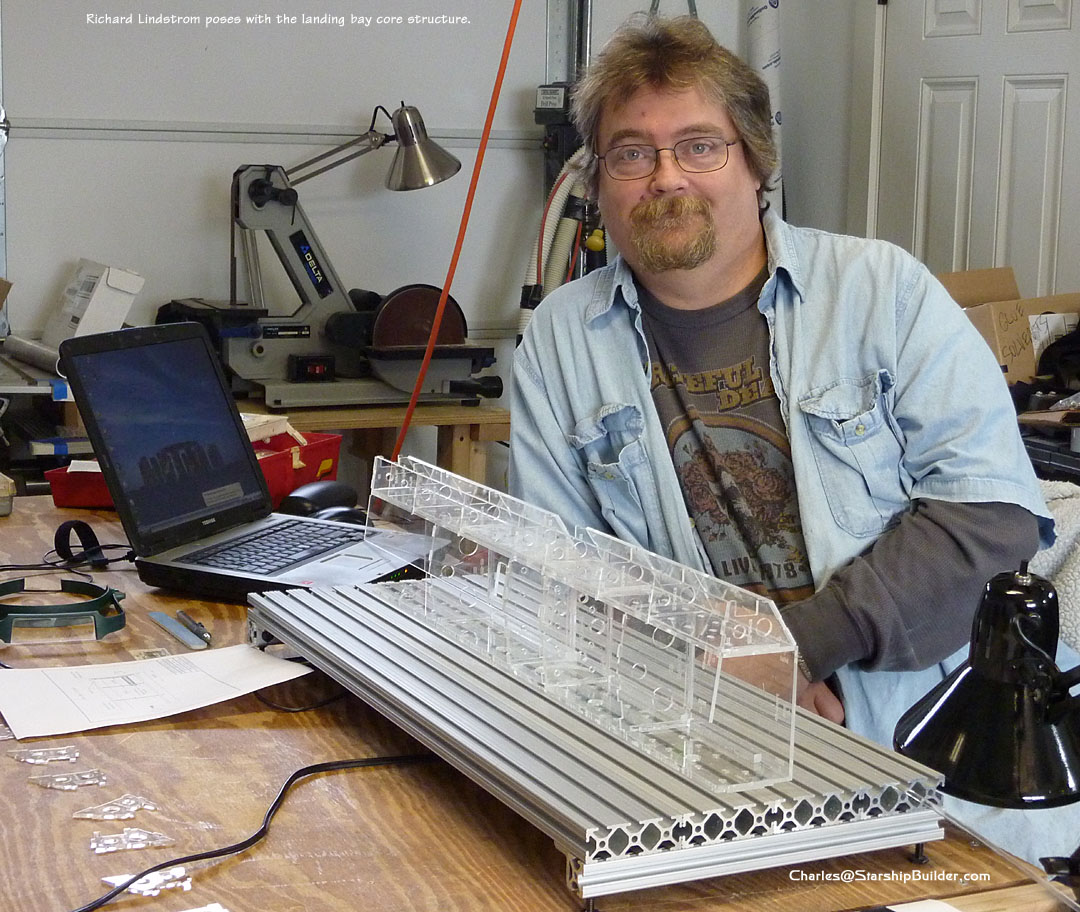
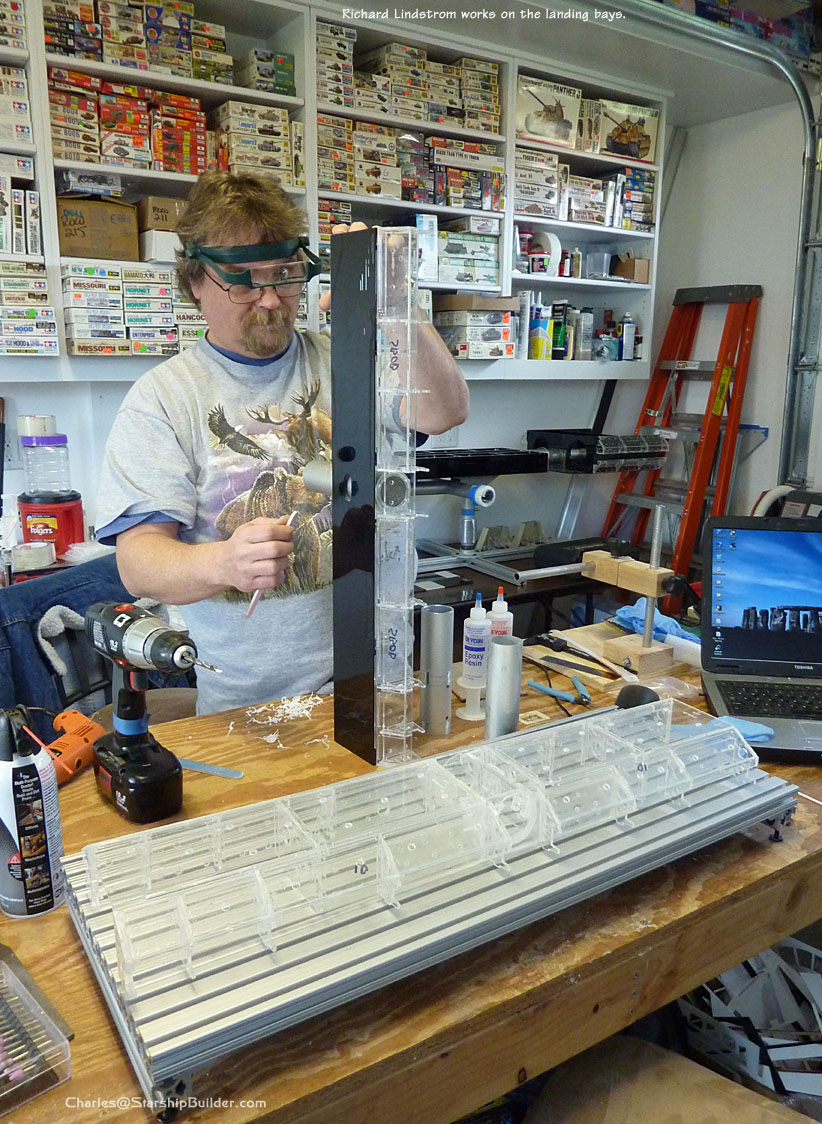
I started this build a while back and it was delayed by a movie model project [INSERT LINK TO C-MODEL POST]. After that, my good friend Richard Lindstrom stepped in to help me move things along.
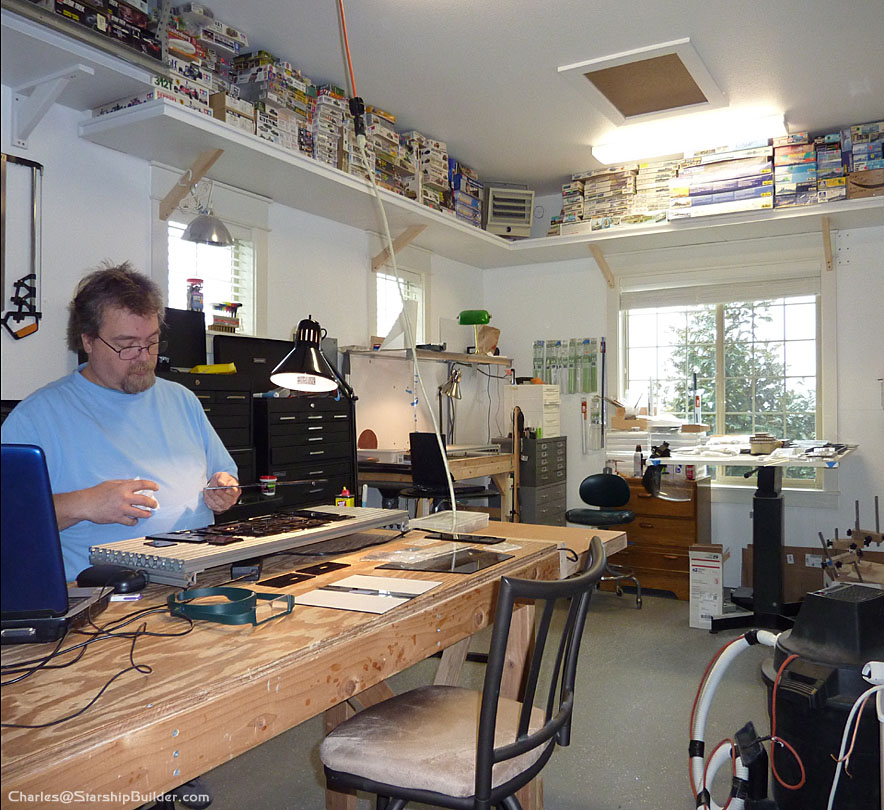
At the same time, my shop was being remodeled. Richard is a talented craftsman. In addition to being an excellent model builder, he’s also an experienced carpenter. I designed custom cabinets and shelves for the shop and he built them. Together, we got them installed so I could at long last get my rather extensive plastic kit collection out of storage. What you see here is only part of what I have — the rest have spilled over into the garage.
We’re making good progress on the build so far. It’s very tedious and precise work. Our goal is to achieve a very high degree of precision. That means everything should be square, plumb, and neatly fitted.
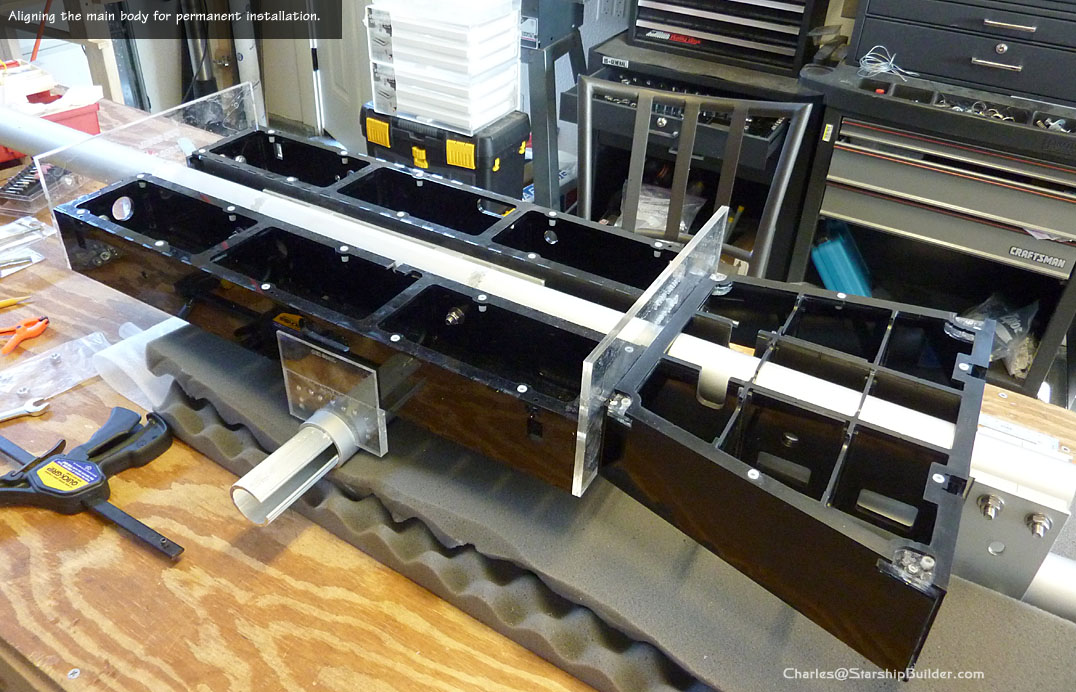
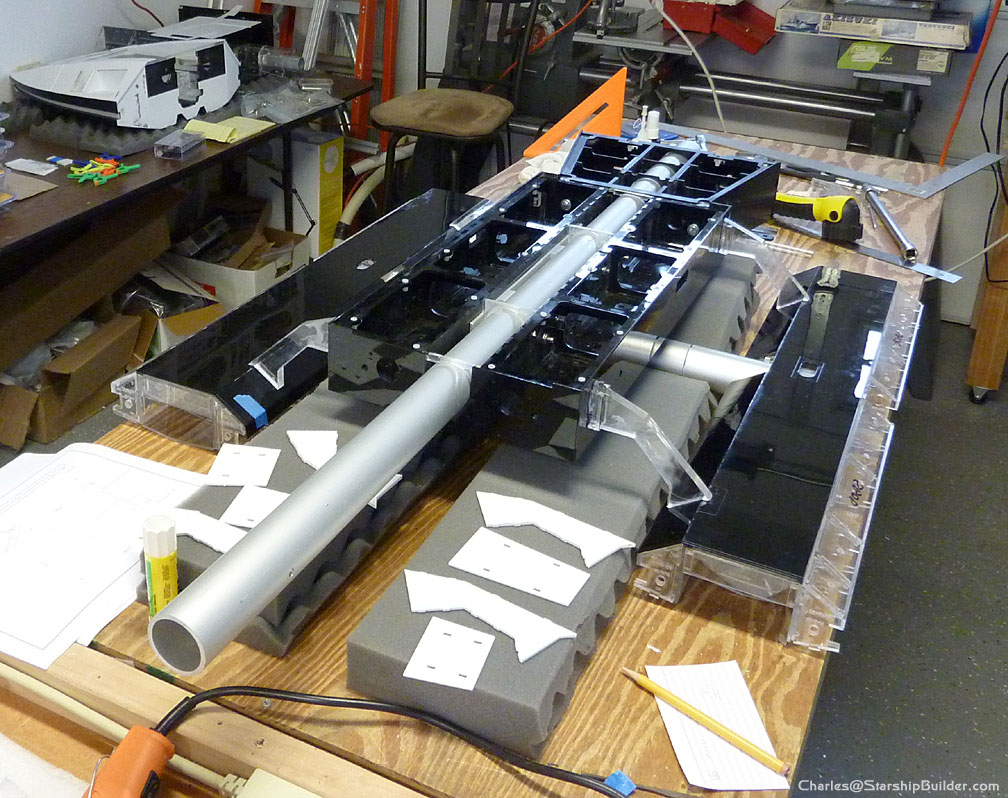
To that end, I have developed special jigs and tools to make construction as accurate as possible. This includes an expensive machined aluminum table that is absolutely flat and allows parts to be bolted and clamped directly to the metal surface during assembly.
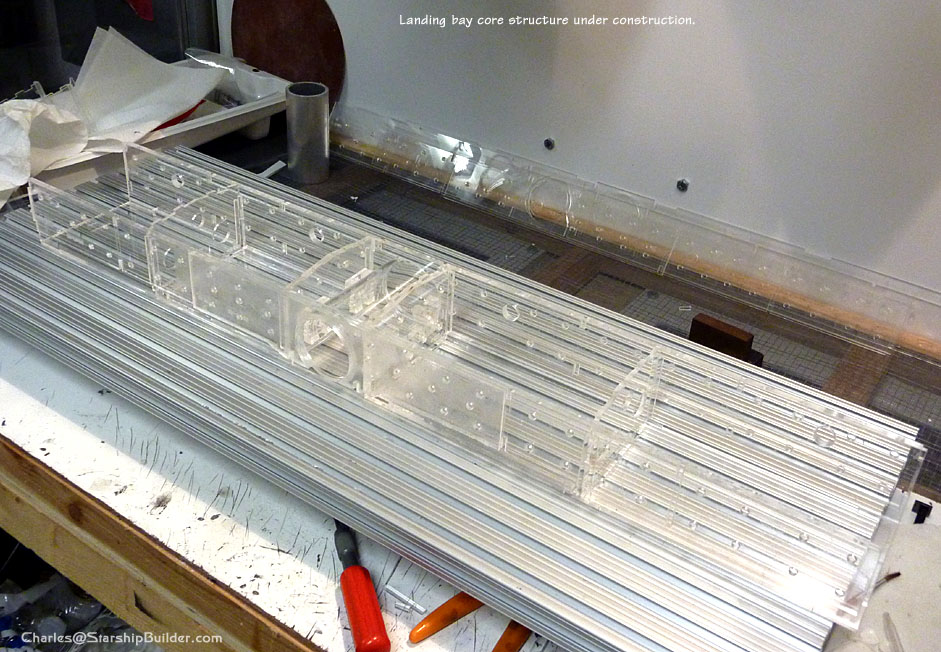
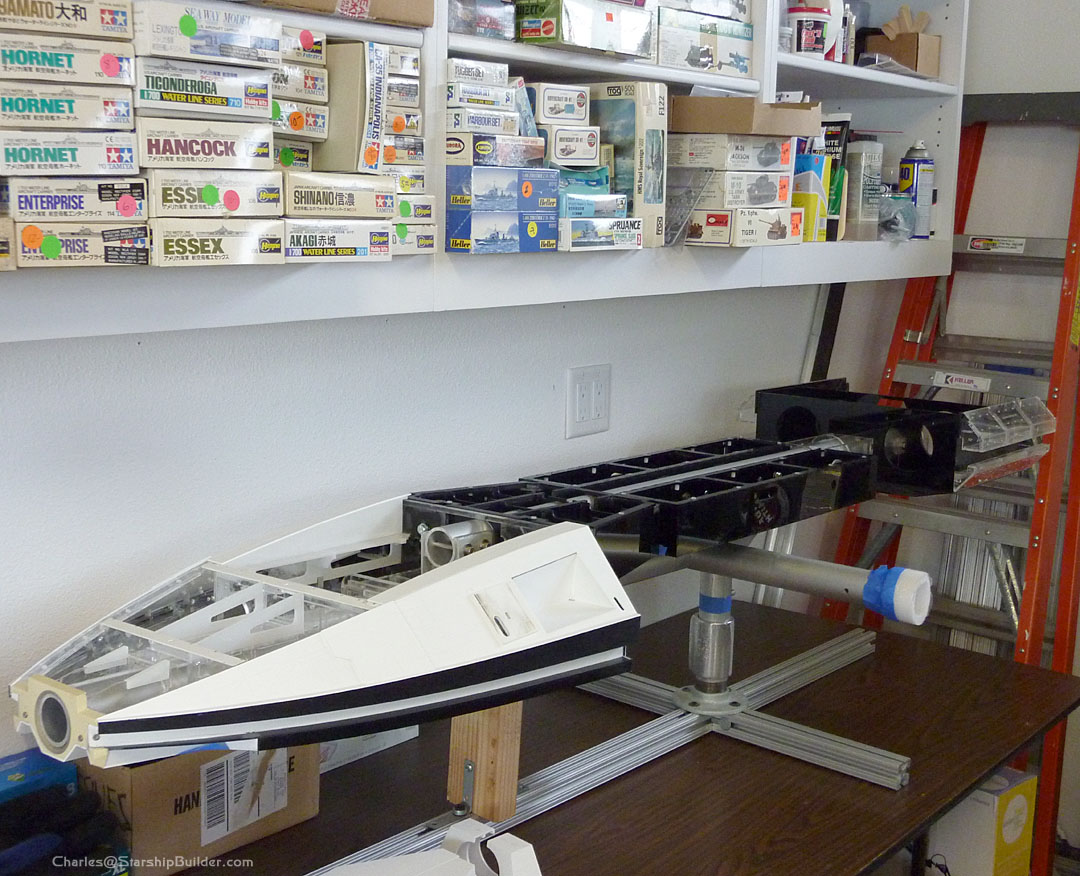
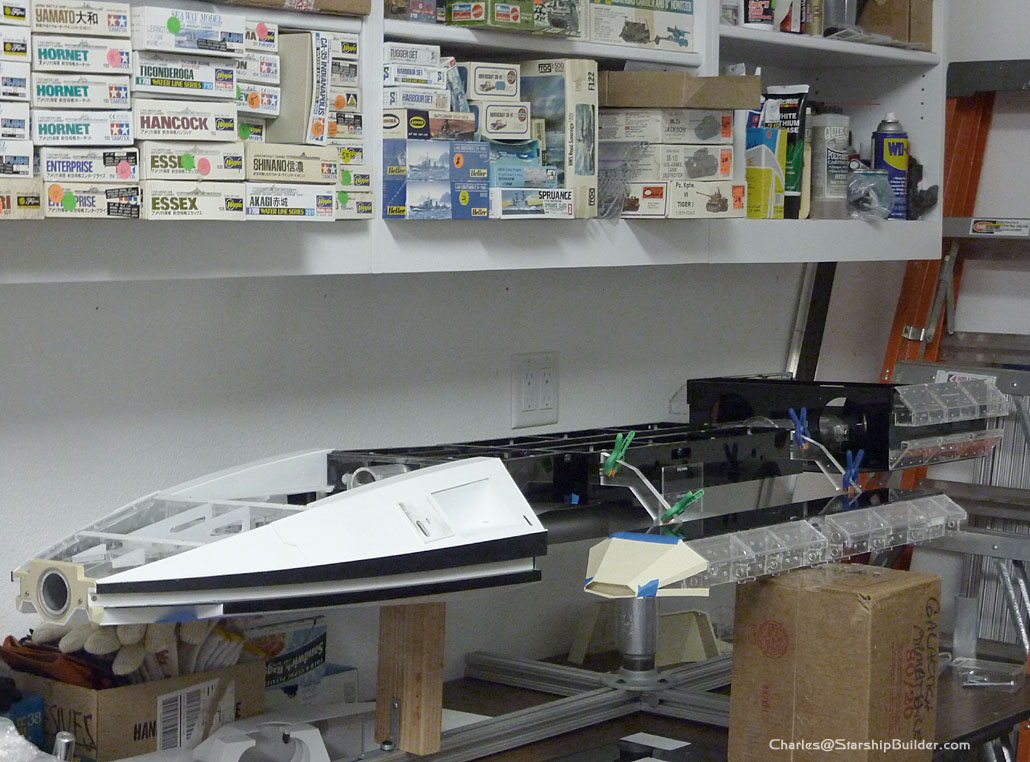
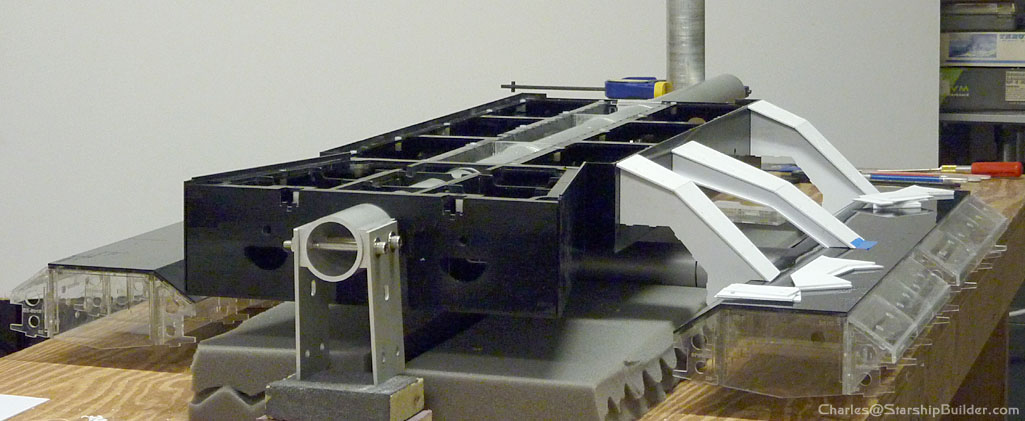
Right now we have the main body and neck sections permanently attached to the armature. This required a good deal of fiddling and adjustment. In addition, both landing bay cores have been built and fitted to the rest of the ship. After final alignment of the arms is completed, the bay bottom skins can go on and then the end caps.
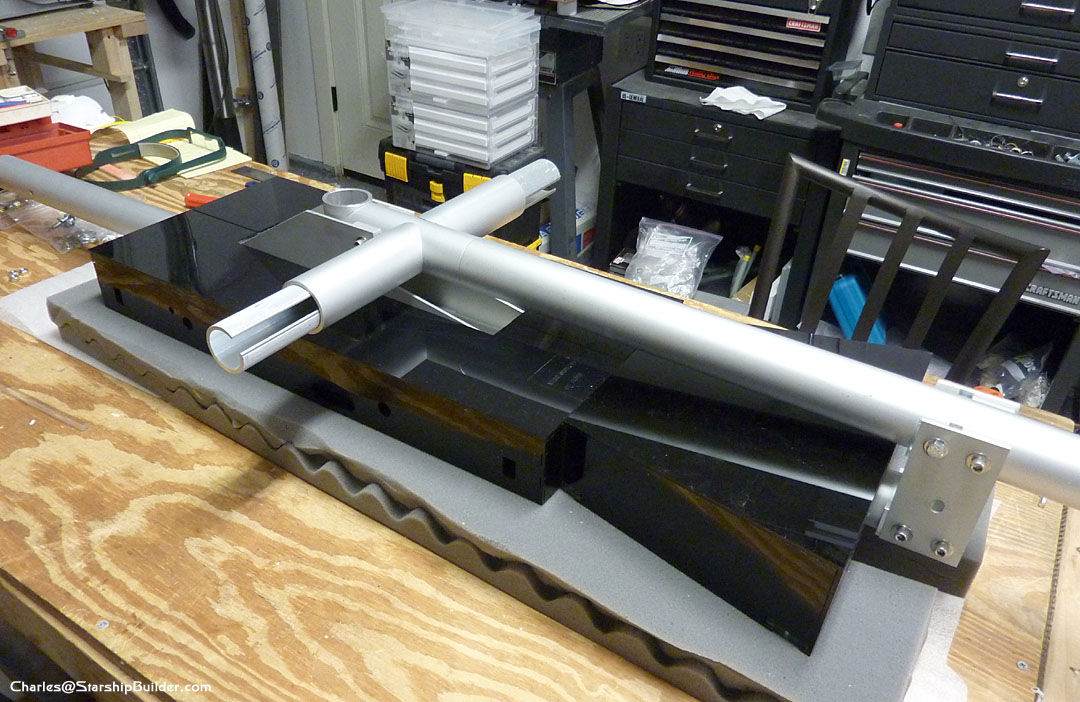
The coffin and pyramid that go under the main body were built a while back. Before we can fit them, however, a pipe sleeve must first be fabricated. The armature I designed goes together without welding because it uses IPS pipe. This allows the use of very special fittings. But, the outer diameter of this pipe is slightly smaller than the one used on the original Galactica. As a result, this replica armature must be modified where the pipe is exposed under the main body and neck.
The amount of work that goes into this is just staggering. I would be far behind where I am now if I didn’t have a capable helper. It’s quite easy to spend a year or more building something like this.
Fitting the bays was quite an experience. I created a design whereby the ship can come apart in sections for easy detailing. This is a huge blessing but it has also made things more complicated to assemble. For example, the armature cross arms have been split into two sections so the outer part that is attached to the bay is removable. This allows the landing bays to come off so they can be detailed more easily.
Unfortunately, we discovered this important design feature makes the bays challenging to test fit. To get the pipes to fit together, there has to be some wiggle room at the joint. This means the bays can sag at the point where the two pipes come together.
Once the cross arm pipes are epoxied in place, none of this will be an issue. Until that happens, however, we can’t fully align the landing bays without adding some temporary supports underneath.
Once we complete the body structure, I will be making a plug-and-play wire harness before building a large crate in which to ship the model. The client does not want to have to worry about any of the wiring or lighting. I have a background in electrical engineering (and a good bit of experience with wire harness design – see the movie model thread for a great example). So, I will be making it easy for him by pre-installing all the lights and wires in the ship.
If anyone reading this is building a studio-scale battlestar, would you be interested in a complete lighting “kit”? I’ve invested in some special tools to do this kind of work. The components needed for wiring have become very expensive in recent years thanks to ravenous demand from China. Also, I don’t like to cut corners so I use only quality parts such as gold plated connectors wherever possible. A complete wire harness for this model won’t be cheap. But, you can be
assured the quality and reliability will be very high. Contact me if you’re interested.CA
To contact this artist direct, please click the CONTACT ARTIST link below.