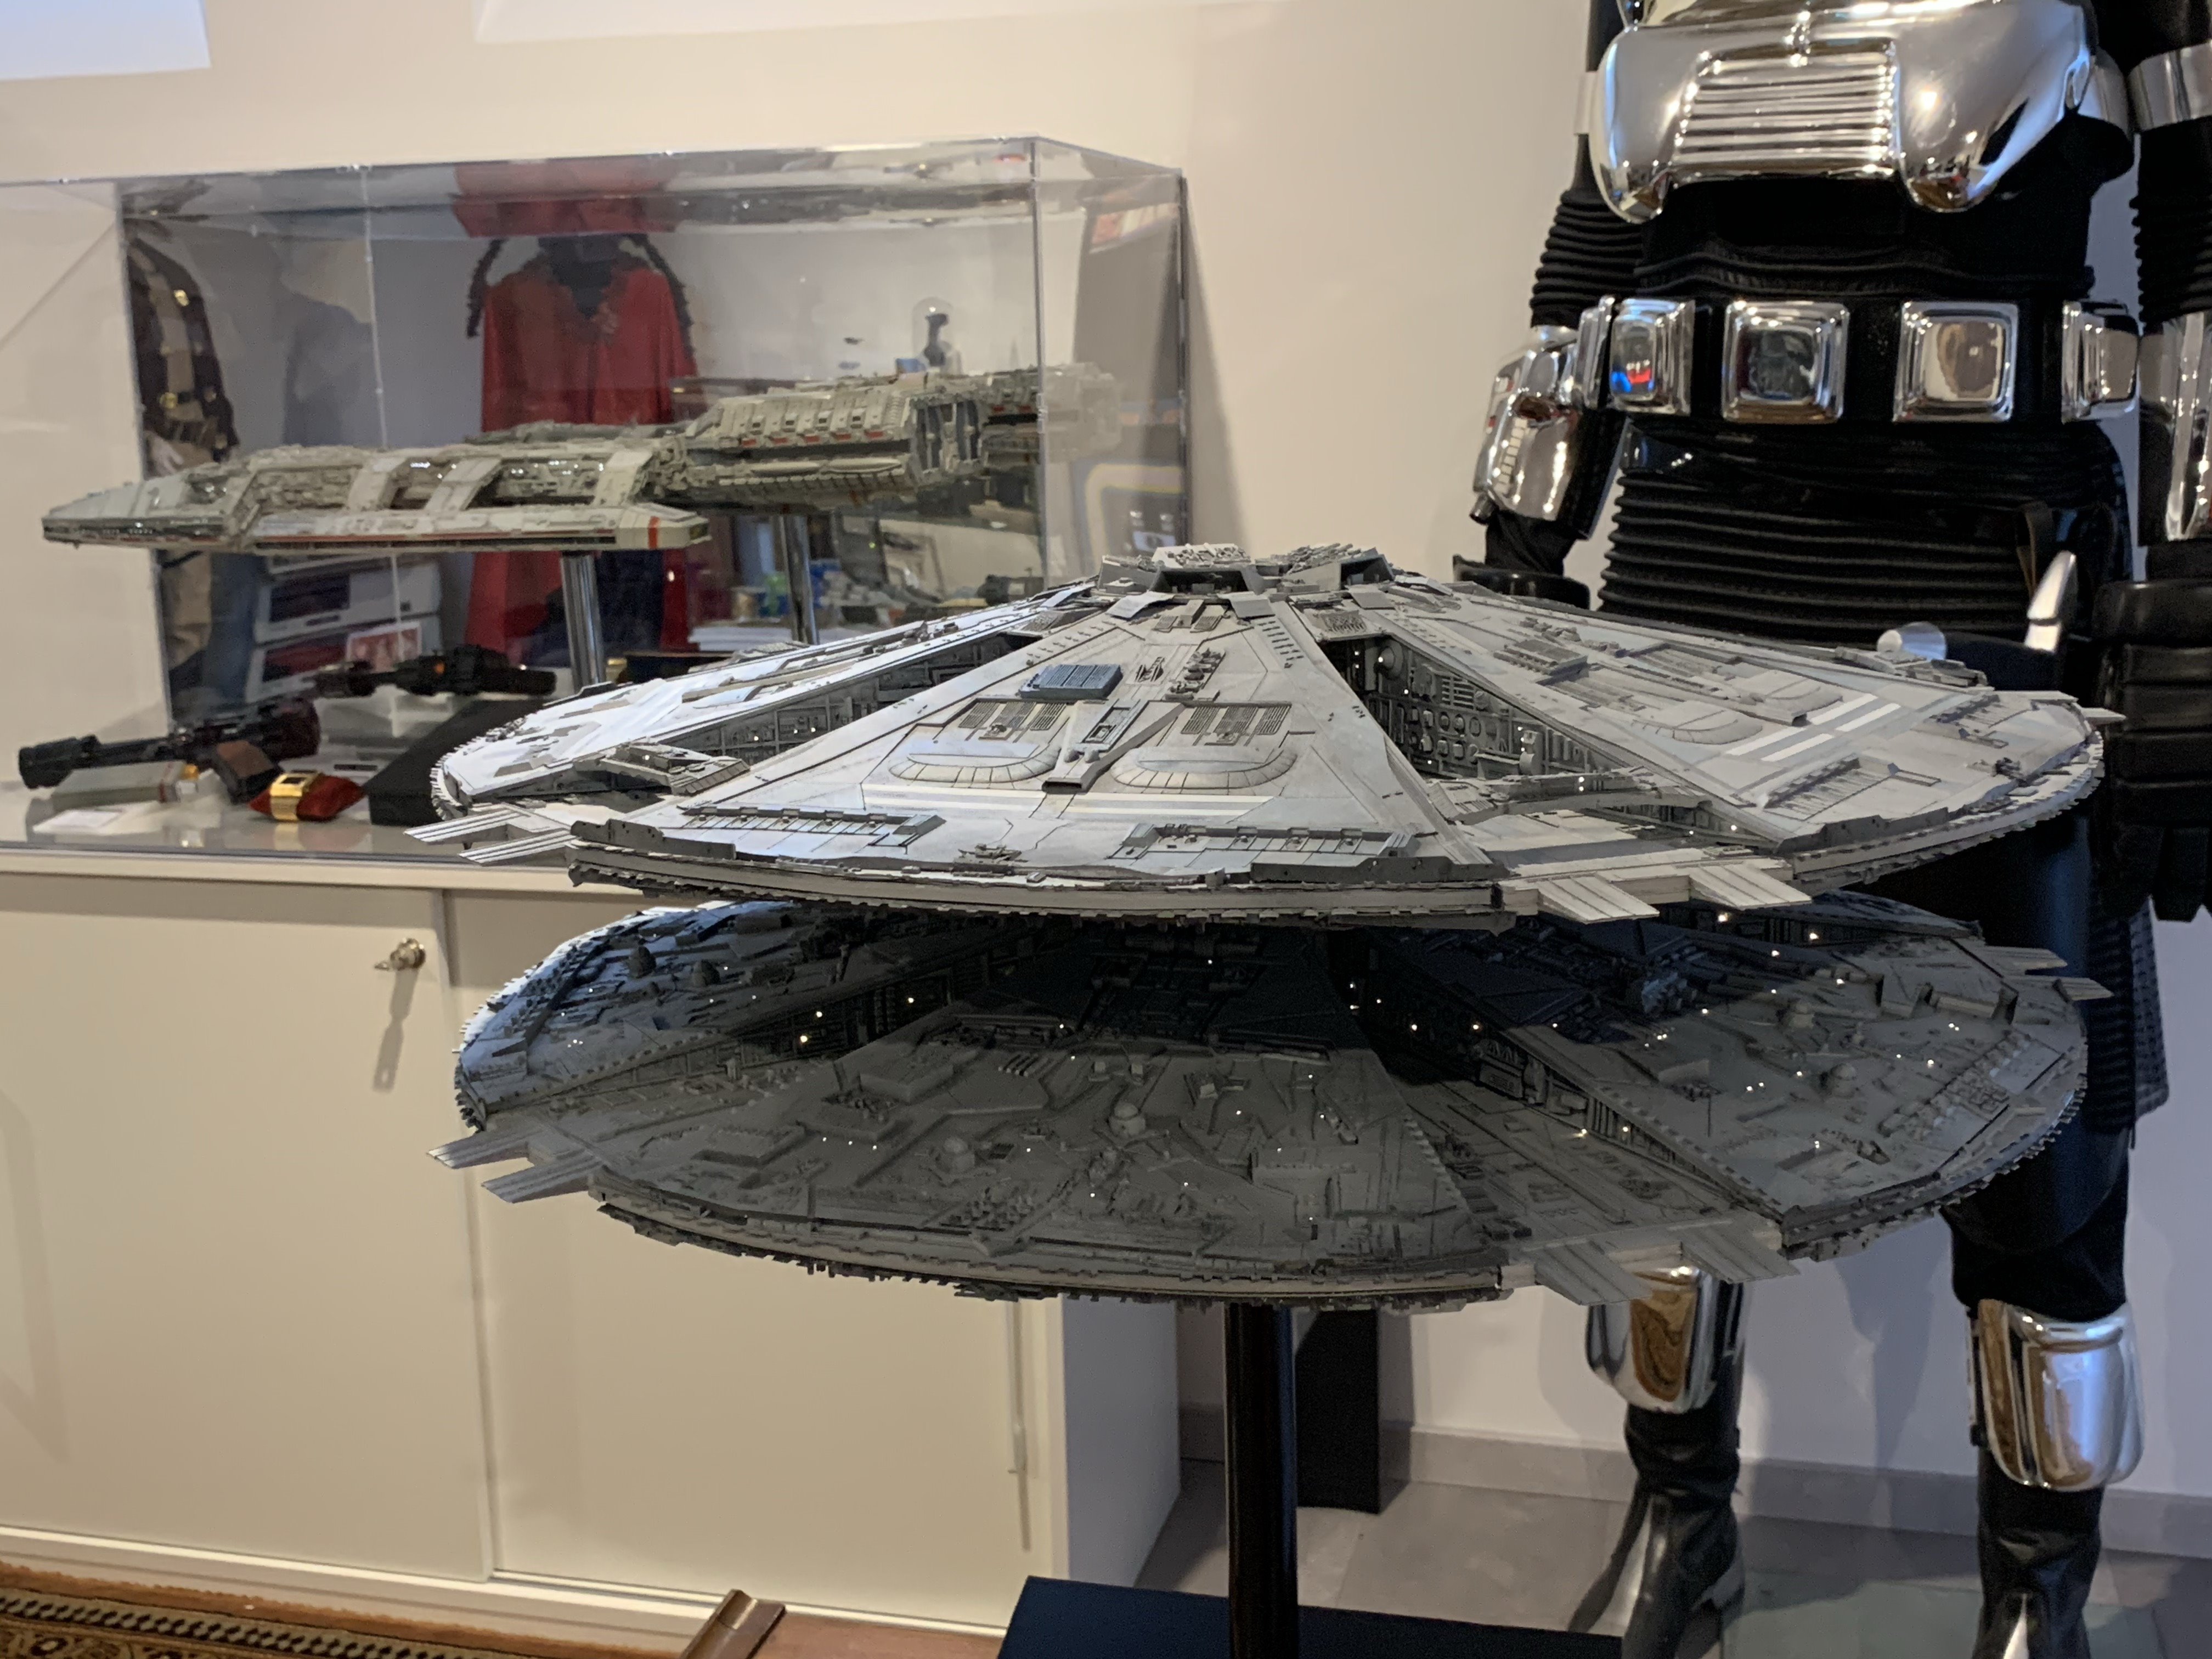
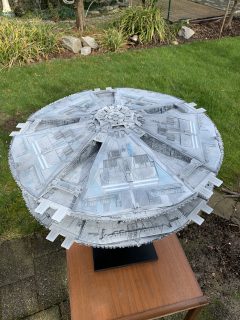
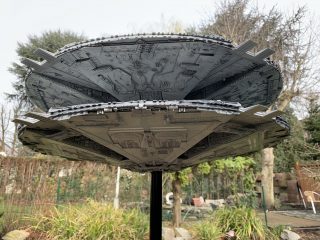
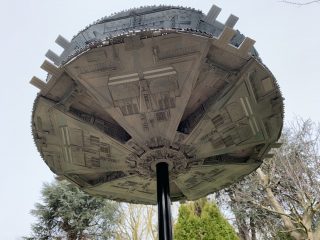
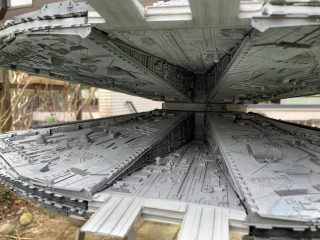
Scratch built: Cylon Basestar
I always loved the Cylons and when I was a kid I dreamed of building Cylon spacecrafts – and even did, from cardboard.
After completing Mike Salzo’s wonderful BSG kit and once I got motivated by the many positive comments from fellow model builders around the world that followed its feature on MMM I wondered what to work on next.
The Galactica had given me faith in my skills and what I always wanted was a Basestar. Some years back I built the classic Monogram model as detailed as I could with lighting etc.
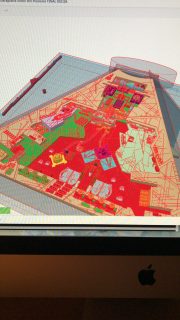
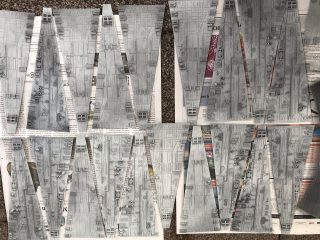
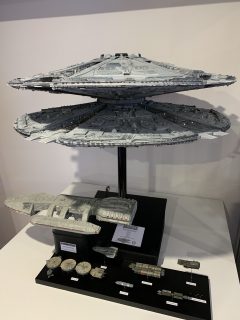
I was so proud of it and thought this was really close to the original. But pictures of Michael Plante’s awesome model convinced me that this was really not the case. Also, after I had completed Mike´s ½ studio scale Galactica, I wondered what the real dimension of the Basestar would be in relation to the Battlestar and did some research. Initially I only wanted to do a replica of Monogram´s Basestar, just twice the size but I soon found out that the Monogram models weren’t correct in many ways, especially in their dimensions. I thoroughly researched high res pictures of the original studio models and compared them with how they were presented on the show. I then started to construct the first parts of a Basestar using 3D software and this worked out much better than I thought. Further research revealed that the correct size of the actual Basestar compared to Revell / Monogram`s Galactica would have to be about 230% the size of the Monogram Basestar.
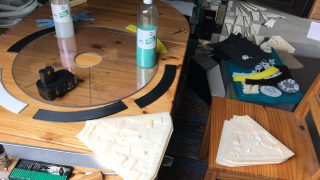
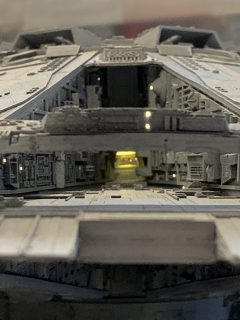
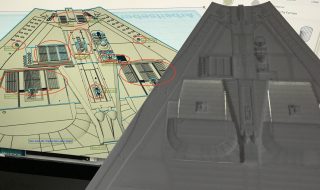
This was the first time that I built a model completely by myself without parts of a commercial kit. After I first created all the parts in a 3D program I then printed them out with a 3D printer. However, such plastic prints are difficult to work on. For fine structures or surfaces one must be able to file, sand or polish them. PLA and ABS easily break, bend or rasp. And if you drill them, the plastic melts at higher friction temperatures. Moreover, it remains vulnerable to direct sunlight and does not have enough load-bearing capacity for such large models.
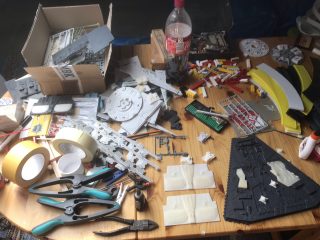
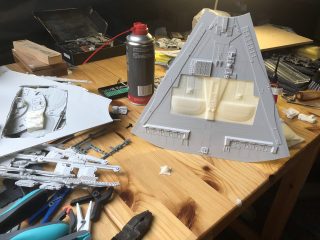
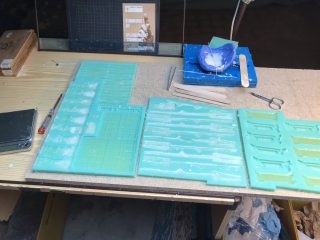
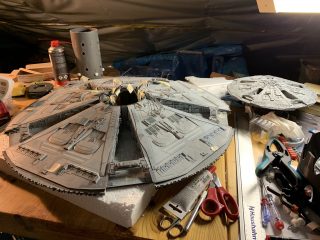
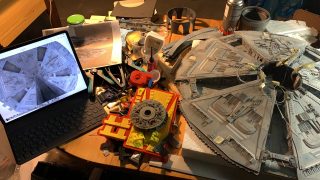
So I followed the classic path just like FX people do in movies. From a master part that was printed as perfectly as possible, I made a silicone mould. This was poured out with resin, which becomes very hard and is wonderful to work with. In this way a new master object was created, from which another silicone mould was created again. Only then all further copies of parts of the model were cast. But this sounds easier than it is, because many very fine details like ventilation grilles, tiny towers etc. are sometimes damaged by trapped air bubbles. So you have to cast parts several times or rework them extensively. This takes time, because for a single casting you have to calculate about one day, including the hardening phase. All too often, one should not use the silicone mould, as it suffers and loses the smallest details, even if one takes good care of it and always sprays it well with mould release agent. The main resin parts were also very large. Particular care had to be taken in regards to the moulds that the resin was filling them properly and to later get them out of the moulds in one piece and good quality.
Thus, one cannot simply go into a serial production. Such large models always remain single pieces or small series. On the other hand they are much rarer and more exclusive.
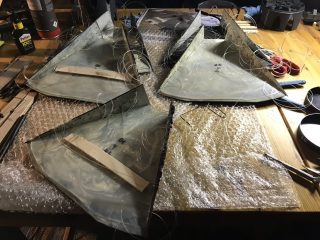
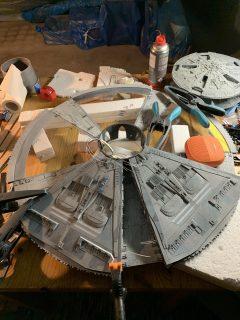
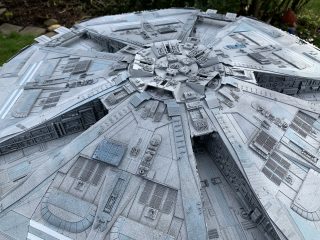
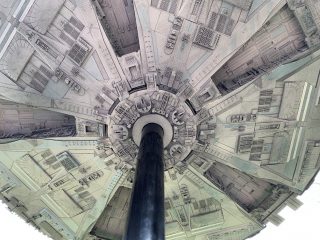
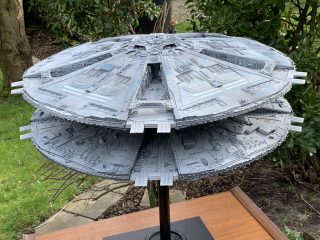
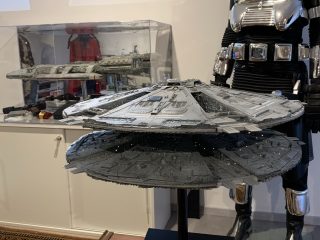
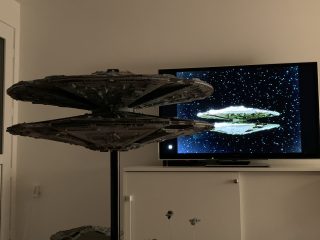
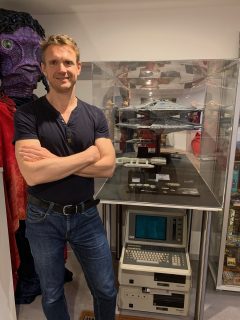
When all the parts are finished, it’s time for assembly. Since there are no instructions, you still have to follow hundreds of detailed steps and find individual solutions. Constantly one encounters new problems. This is another reason why the whole project took about 18 months. The finished model is with a diameter of 75cm almost as big as the original from the film, which was about 95cm in diameter. And it is heavy, about 15kg. Metal carrier, glue and especially the resin weigh a lot. Getting the inner structure right and stable to hold this heavy model was another challenge that I had to work on for some time. Next time I would produce a full metal stand first.
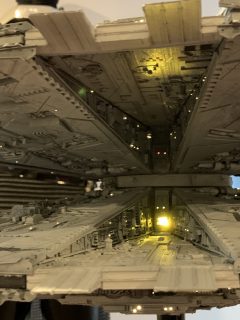
Finally the model should be illuminated. Here I decided to use light fibres of different thickness: 0,7mm and 0,5mm. The holes had to be drilled by hand. It is easy to imagine how thin and fragile such drills are. Some hundred meters of light strings run through the model, the light source consists of LEDs, which are located in the inner core.
This Basestar has two main guns but they were not glued to the model as I am not fully convinced that they are canonical. They rest where they were placed by Monogram on their latest revision but can be taken off.
I hope you like the model.
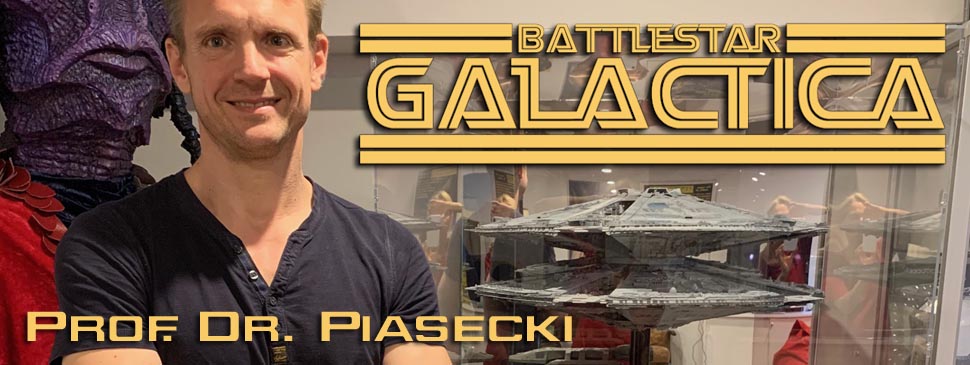
Professor Dr. Stefan Piasecki
Dr. Stefan Piasecki
Professor
USA
*****************************
*****************************
Statements made, or views expressed may NOT be the views of Modelers Miniatures & Magic
Pricing and Availability are subject to change by the Kit Maker/Vendor or Artist at any time. Modeler Magic is not responsible for maintaining the prices in accordance to the changes made by the Kit Maker/Vendor or Artist.
Professional Customer Service and Quality Control are the responsibility of the Kit Maker/Vendor or Artist selling the item of which Modeler Magic is only showing for them.
Modelers Miniatures & Magic has no professional or monetary affiliation with any kit makers, vendors or artists shown on this site other than showing the works and offerings those Artists, Kit Makers and Vendors wish to show on Modeler Magic in their own names. Modeler Magic promotes the art form in this way. Modeler’s Miniatures and Magic claims no trade marks or copyrights on anything shown on it’s site other than it’s own created artwork presented. Modeler Magic reserves the right to remove any material shown at any time from anyone, and we will follow all legal aspects of the art form as they are presented to us by the proven legal owners of the above stated materials and/or their court appointed representatives.
****************************************

