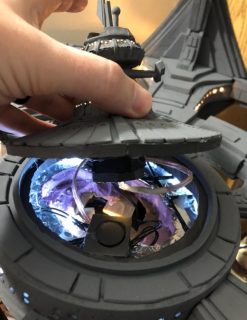
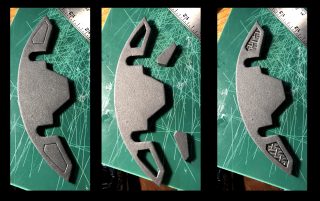
We call ourselves Foamtastic-Creations and More, because we love to build models, replicas and well, pretty much anything using EVA Foam, We added the ‘More’ because we have started combining our other skills with our builds, such as polymer clay and spray paint art.
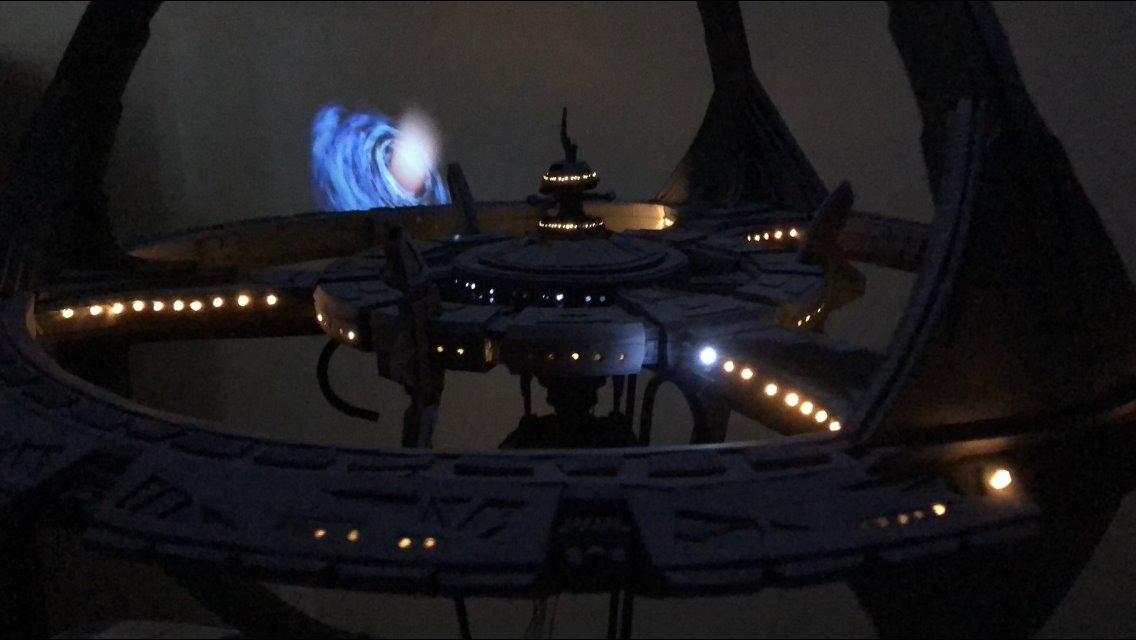
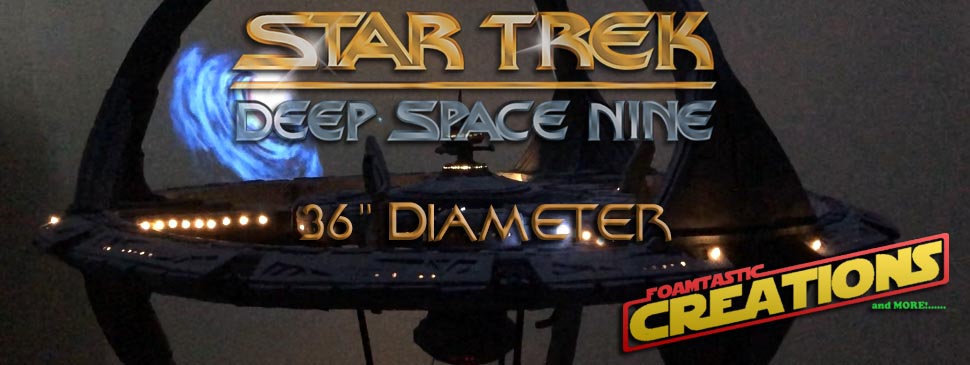
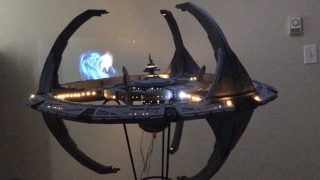
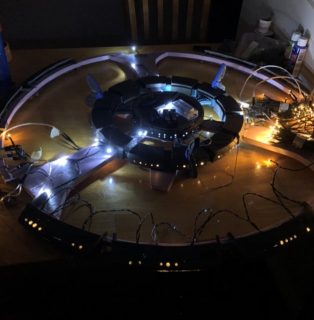
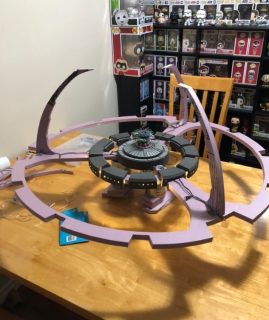
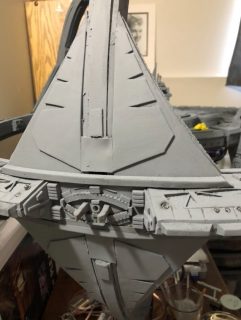
We have built various Star Wars and Star Gate replicas and thought it time we did a Star Trek build. As more and more people are building with EVA foam, we try and pic projects that will stand out among the crowd. That is why we chose to do DS9. This build proved a little harder at first then we had planned. Mainly because as we were building we kept deciding to add more detail, more LED’S, this in-turn added more weight to the outer rings meaning we needed more than just the light pink foam insulation that we were using as an inner structure. So we had to pull some sections apart and work a wooden frame inside.
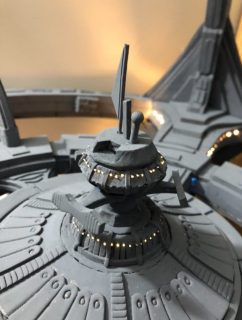
We added some fiber optics for some of the smaller windows and for the larger ones we used clear plastic LEGO rods cut up into 5mm pieces. This way we could use 1 LED to emit enough light to shine through 4-5 windows.
For the display stand we were lucky enough to find on one of our many thrift store hunts, a three legged flower pot stand. That when turned upside down works pretty well to display the station on. We also bought a cheap $40 projector and edited a video of the Wormhole opening and closing and use this as part of our display. As always we try and keep the costs of our builds to less than $200 CDN. For the small details we use anything and everything. Paper clips, toothpics, small scraps of plastic, you name it. Sometimes we even just use the reverse side of the EVA foam that has a detail on it.
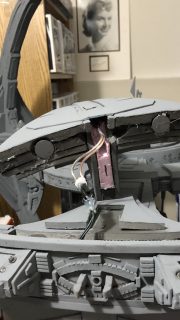
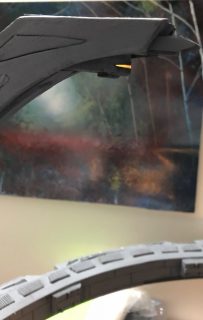
The lower Docking pylons are fixed in place, but the three upper pylons are held in using magnets. This way we can detach them for transport. We used simple JST-SM 2 pin connectors on the upper pylons to allow us to have the docking view area lighted. Speaking of which for the small slit windows we used a thin slice of a hot glue stick. We simply made a slit in the foam and slid the slice of glue stick inside. With one small LED hidden behind it gives the effect of a tiny viewing window.
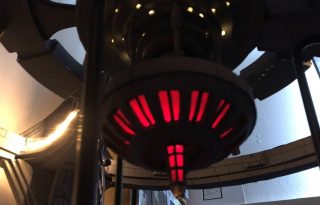
The top center section of the station is also held in with magnets allowing us access to batteries. Also the lower reactor is the same, and instead of using connectors for the wires, we have bunches of fiber optics that we just slot over a couple of spare LED’S inside.
All in all this build took us over 200 hours and the total cost of materials would be around $125 CDN.
Jamie & Krista Young
FOAMTASTIC Creations and More
Jamie & Krista Young
CANADA
*****************************
Statements made, or views expressed may NOT be the views of Modelers Miniatures & Magic
Pricing and Availability are subject to change by the Kit Maker/Vendor or Artist at any time. Modeler Magic is not responsible for maintaining the prices in accordance to the changes made by the Kit Maker/Vendor or Artist.
Professional Customer Service and Quality Control are the responsibility of the Kit Maker/Vendor or Artist selling the item of which Modeler Magic is only showing for them.
Modelers Miniatures & Magic has no professional or monetary affiliation with any kit makers, vendors or artists shown on this site other than showing the works and offerings those Artists, Kit Makers and Vendors wish to show on Modeler Magic in their own names. Modeler Magic promotes the art form in this way. Modeler’s Miniatures and Magic claims no trade marks or copyrights on anything shown on it’s site other than it’s own created artwork presented. Modeler Magic reserves the right to remove any material shown at any time from anyone, and we will follow all legal aspects of the art form as they are presented to us by the proven legal owners of the above stated materials and/or their court appointed representatives.

