

Charles and Richard are definitely not lacking in expertise in building these behemoth filming models! Especially when it comes to the studio Battlestar’s! Check out this latest from them…
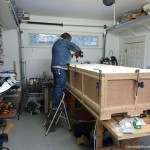
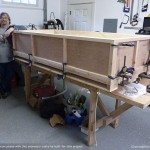
The structure of the Battlestar replica, as well as all the lighting, has been completed. The ship is on its way to the client as we speak.
Because the client wants to film this model, the electrical design on this project was more challenging than usual. It had to be treated as if it were a *real* filming miniature. That meant eliminating all pulse-width modulation (PWM) from the circuitry. PWM creates a “flicker” effect. While it might not be noticeable to the eye, it certainly shows up quite well on camera.
The other major requirement for filming was creating lighting that could be fully dimmed from “off” to maximum brightness. In order to accomplish this, I chose a linear control strategy. This was more complex and difficult than what I created for our last major project, the ‘C’ movie miniature (https://www.therpf.com/f10/c-movie-starship-miniature-effects-model-155323/).
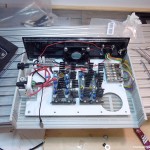
It is much easier to use ordinary PWM dimmers to control the brightness of LEDs. Here, I had to design my own power supplies that could provide a variable voltage without any pulsing. All this had to be controllable using small potentiometers that could be installed in a control panel.
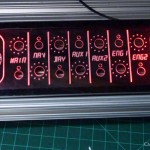
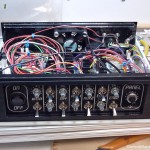
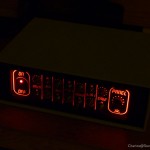
As with the last project, I opted to build a completely custom control box that featured an illuminated control box. There are seven separate lighting controls, with seven knobs and seven switches for “ON/OFF” control, plus a main power switch and panel dimming control.
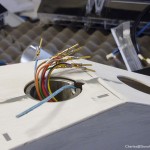
With all this figured out, we still had yet another challenge to overcome. The client wants to be able to film the model from below. Because it was designed for display rather than filming, this miniature has only one mounting point — beneath the ship. To solve this challenge, I added an auxiliary power point inside the main body on the top side of the model. It is hidden underneath the main body lid. To film the ship from below, the client can remove the access lids on the top of the ship, flip the entire model upside down, and power it from the auxiliary connector.
The primary power connector is designed to be hidden inside the lower mounting point. It tucks neatly inside the pipe, helping to keep it out of the way. All the client has to do is make a cover plate to hide the main mount on the bottom of the ship during filming.
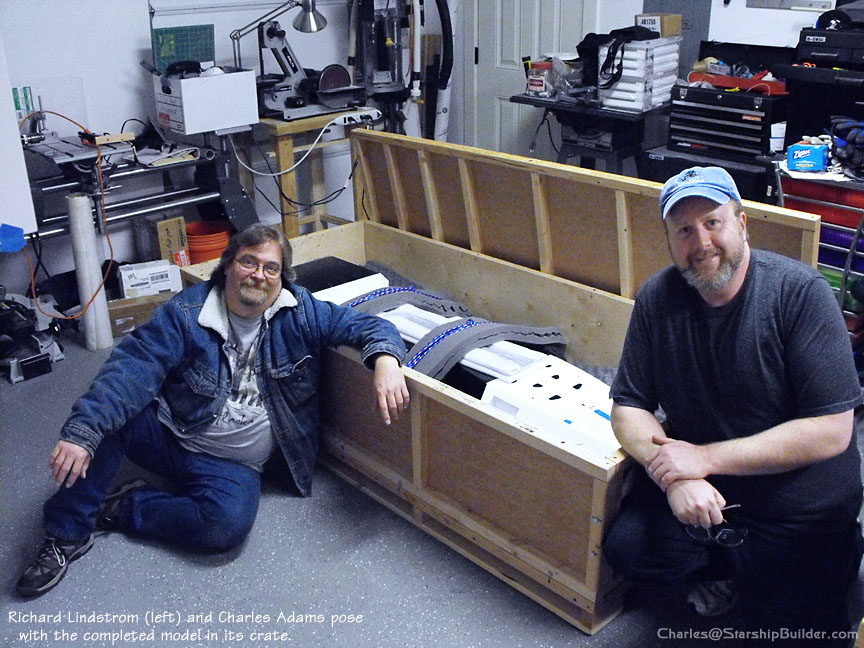
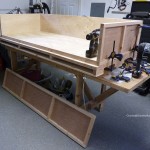
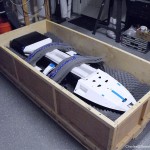
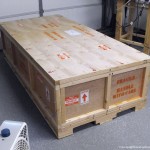
Once everything was done, my good friend and faithful assistant Richard Lindstrom built an enormous crate to protect the model during shipping. It is quite strong and should help ensure the model reaches its destination unharmed.
Once again, I must give my thanks to Richard for all his hard work on this project. It has certainly been a learning experience for both of us. For one thing, I did not realize just how much work it would be to assemble all the different modules *after* they had already been built. I already knew how much time and effort was involved in
building the different sections of the ship. That alone can take months. Putting it all together, however, is like taking on a whole new project.This ship was very challenging and time consuming to build. Still, we are both very proud of the finished product. I’m sure the client will feel like a kid on Christmas morning when he opens the crate!
Before we shipped it out, we managed to capture some video of the lighting effects being tested. We also demonstrated how the modular design works:
UMBILICAL
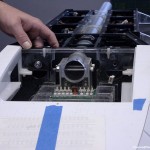
MODULAR DESIGN
LIGHTING TEST
Charles

![]()
To visit the Starship Builder site direct, please click the banner link above.
To contact Charles Adams direct, please click the CONTACT ARTIST link below.

Charles Adams
****************************************