
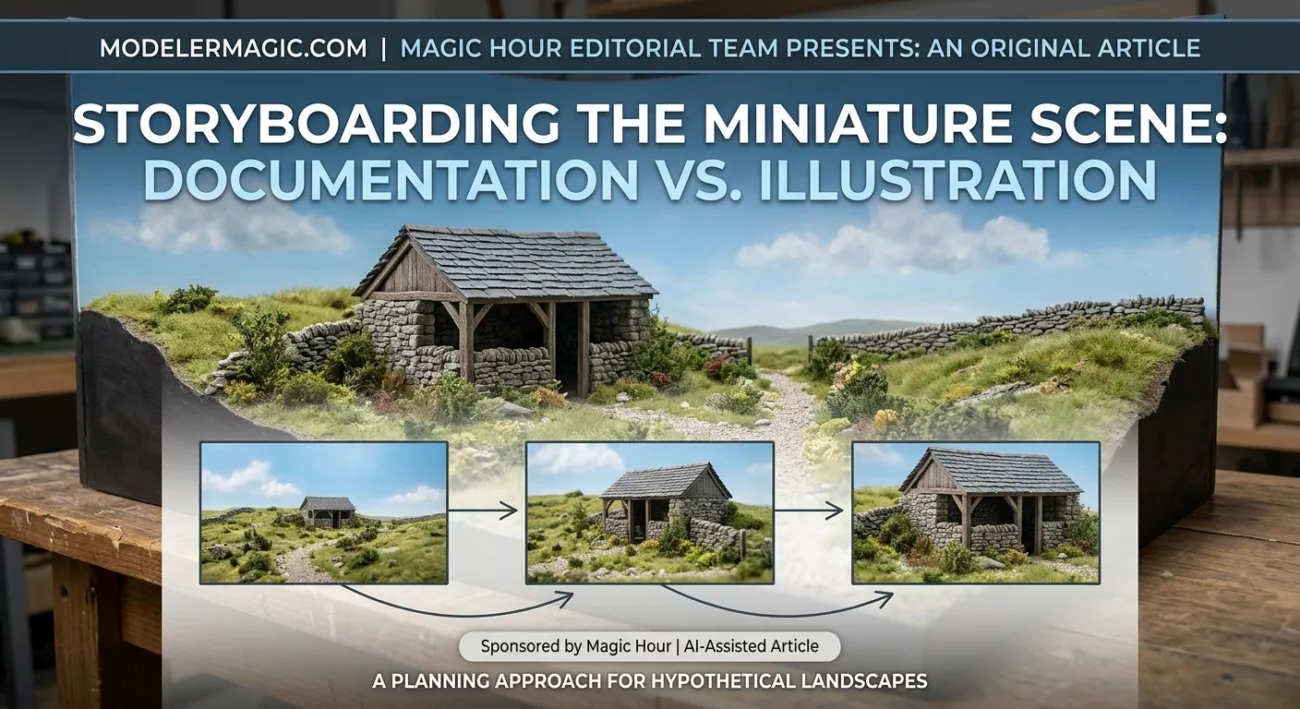
Sponsored by Magic Hour. This article was drafted with AI assistance and reviewed by the Magic Hour Editorial Team for clarity and factual accuracy. It describes a planning approach, not a firsthand build or software test.
A miniature landscape can tell a story before anything moves. A winding path, a weathered wall, or a small structure placed against a distant ridge can suggest a place with its own history. Photographs let you choose which parts of that scene a viewer notices. An illustrated motion storyboard adds another layer: a proposal for how the scene might be presented on screen.
Keep that proposal separate from the record of your workmanship. A photograph can document a physical model. Real footage can show its actual lighting or moving parts. An AI-generated clip creates new frames from a starting image. It may be useful for exploring atmosphere, but its invented motion is not evidence of a working mechanism, a completed build stage, or stop-motion animation.
Begin with a scene that belongs to your own project
For this workflow, choose an original miniature landscape rather than recreating a recognisable film set or franchise vehicle. Imagine a hillside shelter beside a narrow path and a dry stone wall. This is a hypothetical design exercise, not a description of a model we built. Your actual project might be completely different; the important point is that the scene and its photographs are yours to use.
Check the permissions for any contributed photographs or distinctive artwork visible in the scene. Set borrowed reference images aside instead of treating them as publishable assets. Leave people, personal documents, and identifying information outside the frame. A model-only photograph keeps the exercise focused on composition and the setting you created.
Photograph the model as a physical object
Start with a wide view that shows the whole composition. Add a closer view of the focal point and a detail photograph of a feature you want to discuss. Preserve these original files before making crops or colour adjustments. Give each image a descriptive name, such as “shelter, wide view” or “wall, surface detail,” so later versions remain easy to distinguish.
Record which details actually exist in the model. If the doorway is painted closed, do not describe it as opening. If a distant ridge is a printed backdrop, explain that when discussing construction. Photographs are most useful as documentation when captions distinguish physical components, background elements, and later presentation effects. A dramatic crop should not become a misleading account of how the scene was made.
Design a three-shot sequence before adding movement
Make three boxes on paper. Use the first to establish the landscape, the second to direct attention toward the shelter, and the third to examine a texture or small detail. Place a photograph in each box or sketch the proposed framing. Under every box, write what the viewer should notice. This gives the sequence a purpose beyond simply displaying attractive images.
The storyboard might read: “Path leads toward shelter,” “Shelter sits within the slope,” and “Wall detail reveals the surface treatment.” These are presentation notes, not claims about a particular material or technique. Replace them with descriptions that fit your actual photographs. If the still sequence communicates the idea clearly, it can become a captioned gallery without any animated section.
Choose between a slideshow, real footage, and illustration
A manual slideshow is a straightforward way to share the sequence. Use cuts or gentle fades between the photographs and keep construction notes separate from decorative captions. You can also photograph the model again from a different angle when the available images do not explain its shape. Another genuine photograph may be more useful than a simulated view.
Record real video when you want to show an actual lighting change, rotating display base, or moving component. If you create stop motion, describe it accurately as a sequence of photographed physical changes. An AI clip should have its own label. It illustrates a possible presentation of the landscape; it does not demonstrate that objects moved in front of a camera.
Write a modest brief for an optional motion concept
For an illustrated concept, Magic Hour provides an image-to-video workflow with a starting image and an optional motion description. You can generate a clip, preview it, and download the result. This is one possible approach to a motion study. It does not replace the original photographs or establish new facts about the miniature.
Keep the first brief narrow: “A gentle camera movement across this miniature landscape photograph.” Avoid asking for hidden rooms, changing structures, or additional objects when your goal is to present the existing scene. If you deliberately imagine a different environment, identify that version as a fictional variation. The starting photograph does not guarantee that every generated frame will preserve the model’s geometry.
Compare generated frames with your documentation
Pause the clip at several points and compare it with the source. Inspect the shelter’s outline, the path, the wall, and the background. Watch for details that disappear, surfaces that change, or structures that become a different shape. Apparent camera movement can reveal invented areas that were never visible in the photograph. Treat those changes as generated interpretation rather than unseen construction.
If the result confuses the scene, discard it or return to your slideshow. Keep technical annotations outside the generated imagery, where you can edit them accurately. Add a readable caption such as “AI-generated motion concept based on a photograph of an original miniature.” Avoid describing an invented effect as practical lighting, weathering work, or a filmed environmental condition.
Share the concept with its source and context
Present at least one genuine still alongside the illustrated clip so viewers can distinguish the physical project from its motion treatment. Check the thumbnail as well as the full sequence: a label that appears only at the end may not explain the opening image. Make the essential captions understandable when sound is muted.
For a club presentation, place construction photographs and motion concepts on separate, clearly titled slides. Invite comments on the proposed framing without implying that viewers are assessing a filmed build demonstration. This keeps feedback about composition connected to the storyboard while preserving your factual project record.
Keep the source photographs, storyboard notes, final captions, and selected clip together. That record helps you explain what you built, what you photographed, and what you imagined. No particular audience response or workflow saving is promised. The useful result is a visual presentation that respects both the craft of the miniature and the distinction between documentation and illustration.
